Winter photo tips with the Irix 150mm f / 2.8 Macro 1:1
Winter. It’s the season of the year which we associate with cold, short days and a world covered with a layer of pure white snow.
But what may not be so obvious at this time of year is the excellent opportunity to dispense with your abilities from portrait, detail, macro or landscape photography; going outside into a winter wonderland with a medium-length telephoto macro such as the Irix 150mm f/2.8 Macro 1:1 will definitely help us in achieving interesting effects. The high contrast between white snow and the dark shadows, the harshness of the surroundings and the seemingly lack of life gives us a wide spectrum of activities to apply various techniques and ideas to our photographs.
However, it should be remembered that winter is governed by its own laws and we must prepare ourselves properly before leaving.
Below you will find a list of tips that will make your trip more successful.

by. Kuba Witos “Photo of Irix 150mm made with Irix 15mm :P”
17 Photo-Tips for successful photos in the winter
Use a prime lens
Prime lenses usually guarantee a much higher optical quality than popular “zooms” thanks to a much simpler optical construction. A less well-known but no less important feature is the better sealing level offered by these types of lenses as they have fewer moving parts. The Irix 150mm f/2.8 Macro 1:1 offers additional internal focusing – that is, the lens does not change its physical size when sharpening – and has five seals in key places that provide sufficient protection for work even in the harshest of weather conditions.
The batteries should be warm and the equipment should be cold
Batteries don’t like the cold, and even more so, the freezing conditions. Their efficiency drops significantly as the temperature falls. Try to keep them in the inside pocket of your jacket to provide them with the right temperature for effective work – you’ll be surprised by the results!
At the same time, remember that the camera and lens should be cold. Don’t try to heat them up because they could melt the snow on the surface and moisture may penetrate them – and even freeze them up!
Use a lens hood
The lens hood protects the lens against unwanted reflections that could adversely affect the picture. In addition, in winter, it provides protection against snowflakes that could settle on the surface of the front lens. This is dangerous because frozen water – that is, the result of melted snowflakes when the lens is still warm – can be difficult to remove in the open air, and trying to get rid of ice can damage the coating applied to the surface of the lens. The Irix 150mm f/2.8 Macro 1:1 lens has a 63mm length lens hood that guarantees adequate protection even during intense snowfall.
Make sure the equipment is dry and clean
Each of us, in our own way, care about our equipment, but it’s worth paying special attention to it in the winter. If possible, keep the camera in good condition by keeping it dry and clean. Often – despite the seals – moisture finds a way into our camera, and this can cause permanent damage.
by. Kuba Witos
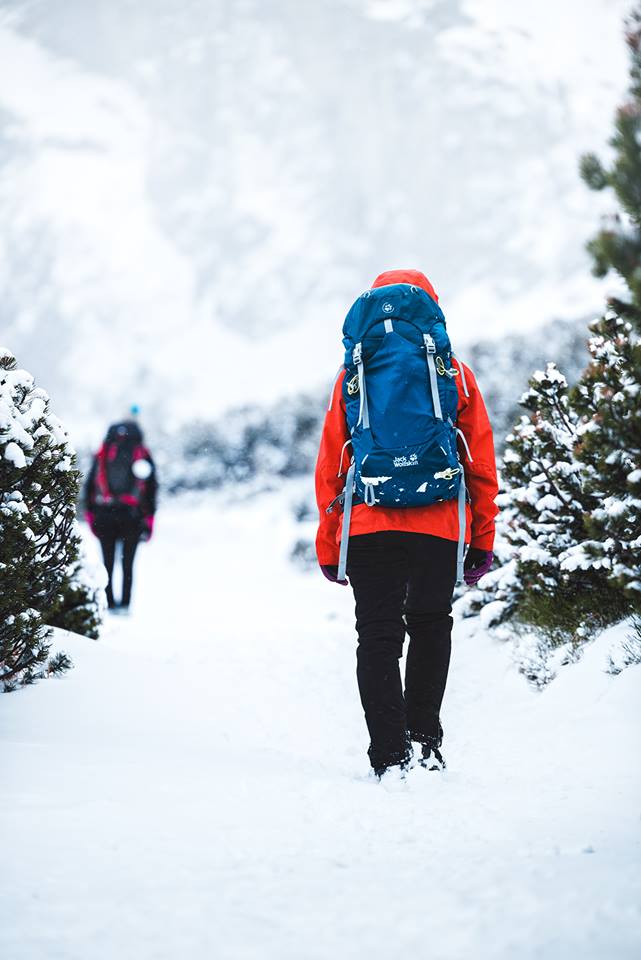
Take care of an interesting frame: add colour, enjoy the optics
Winter views are usually quite harsh. The plants all seem dead and they all have a white and grey hue. But this is a great opportunity to get the viewer’s attention with the placement of an intense colour: for example, a red scarf, an orange hat or a green jacket. In attracting the attention of the viewer, you will surely use a lens that allows effective separation of the photographed object from the background (so-called bokeh). The Irix 150mm f / 2.8 Macro 1:1 lens is a lens whose fast aperture (f/2.8) and long focal length (150mm) allows you to separate out the photographed object, thus focusing attention on a particular point in the composition.
Take a tripod
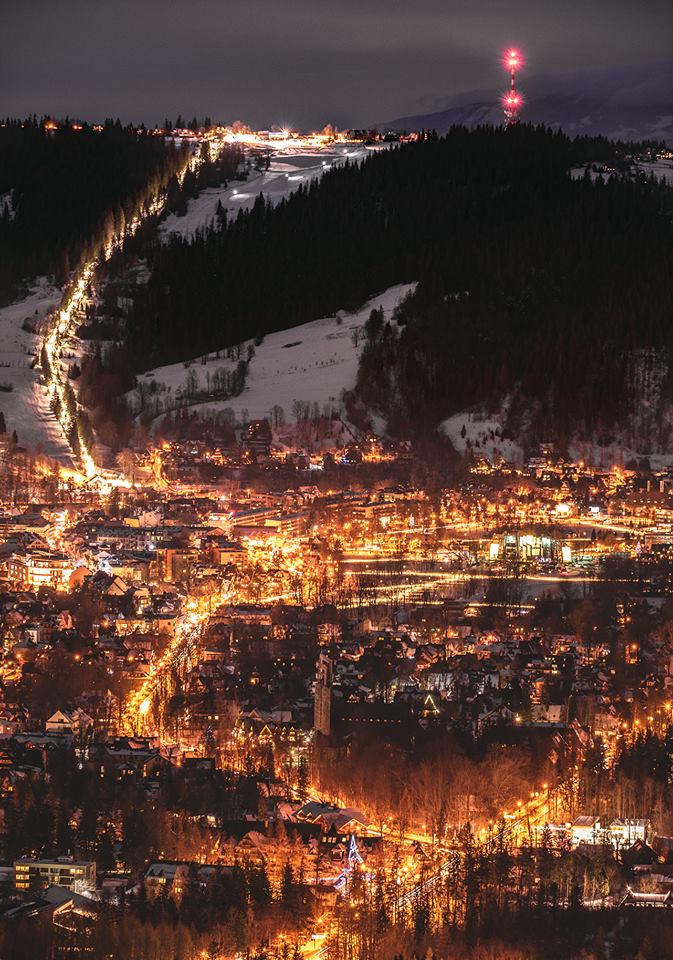
It may not seem obvious to take a tripod with you in winter: after all, the snow reflects light, so we can enjoy the fast shutter speeds. However, it must be remembered that the effect may be low dynamic images, devoid of traffic. The tripod will allow us to place the camera in a stable position to take pictures with a longer exposure time.
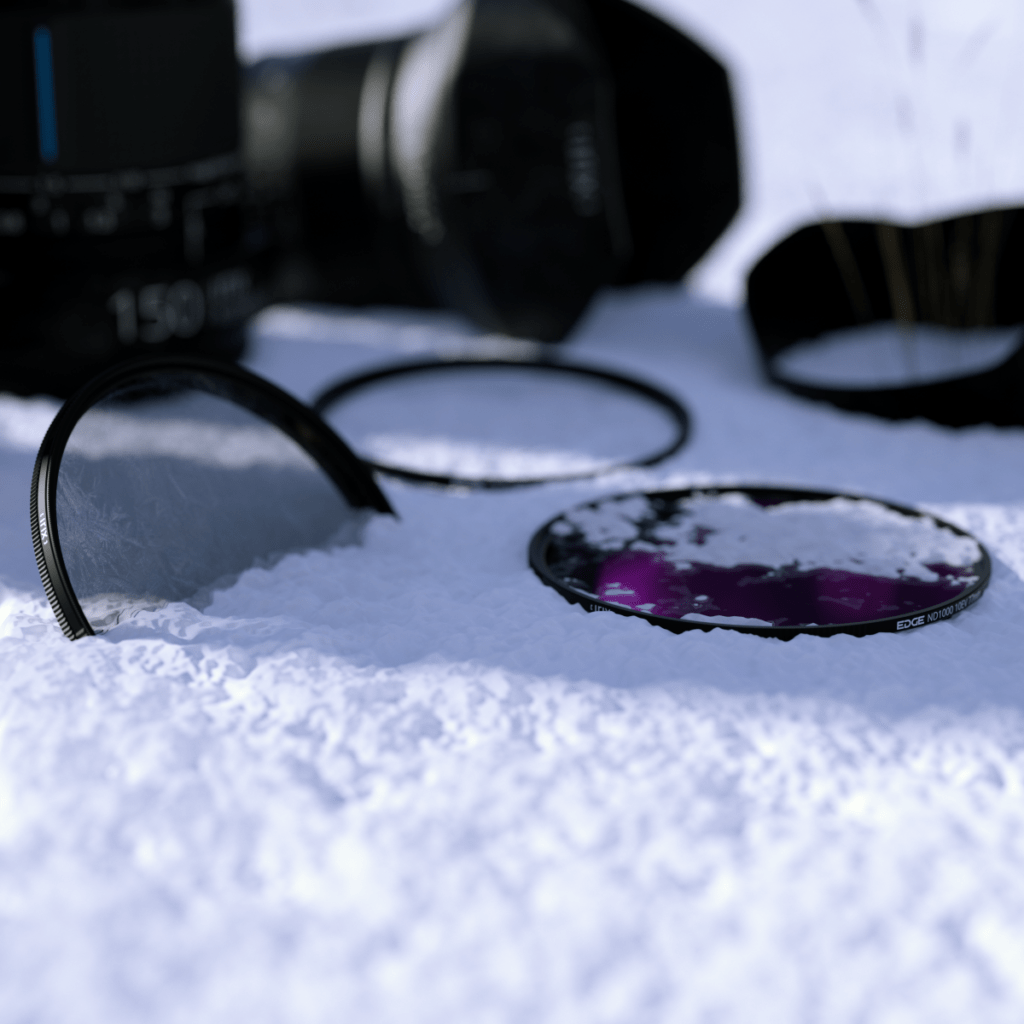
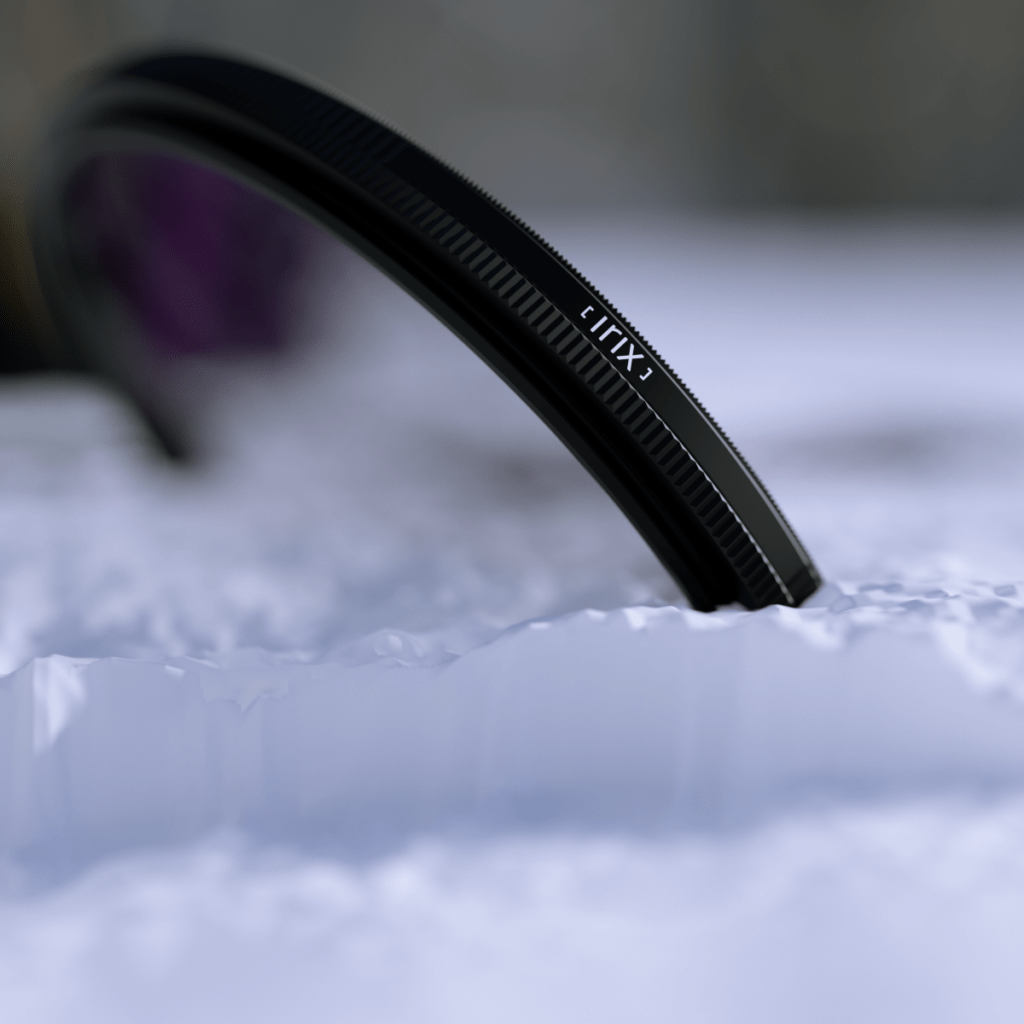
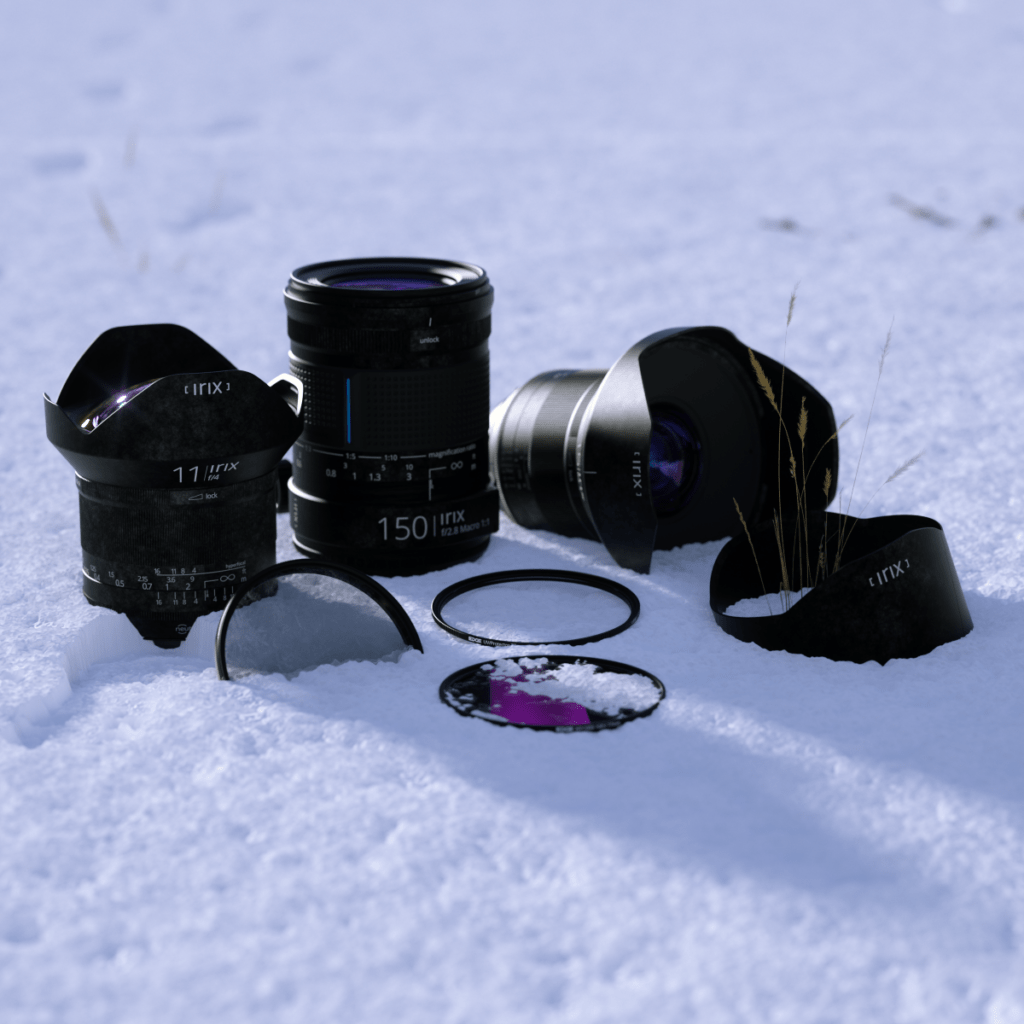
Use photo filters
This advice is directly related to what has been discussed previously. As we already have the tripod, we can begin to modify the light with different types of filters. Undoubtedly the most universal could be a polarizing filter such as the Irix Edge Circular Polarizer; it will allow you to cut off unwanted reflections of light generated in the snow, drawing in a deeper blue sky. The second filter that allows us to achieve an interesting effect is the full grey Irix Edge Full-ND filter, with various density levels. It will reduce the amount of light reaching the camera’s sensor, and thus increase the exposure time. The effect of using this filter is to blur every movement that appears in the frame (trees in the wind, clouds, people or cars) – the result being a picture with more dynamic characteristics.
by. Kuba Witos
The final group of useful light modifiers are gradual filters:
• Irix Edge Soft Gradual. This is the most universal type of filter, with an extended transition between the light-reducing and transparent areas. It allows you to take a correctly exposed photograph in a situation when the horizon line is irregular.
• Irix Edge Hard Gradual. This is a filter with a hard (short) transition between full transparency and a light-reducing area. This filter is particularly useful when photographing scenes with a flat horizon.
• Irix Edge Reverse Gradual. This is a filter type dedicated to photographs of the sunrise and the sunset: it reduces the amount of light the sun emits in the frame part of the image. It combines the characteristics of a hard filter; a short transition to full reduction of light on the middle surface of the filter, which is then gently reduced towards the upper edge to full transparency.
Winter allows us to use gradual filters in a not-so-obvious way – the upside down. Instead of darkening the area with the sky, we can reduce the amount of light reflected by the snow, thus achieving a more dramatic picture.
Overexpose the snow
Snow reflects light, usually bright – which is obvious to us. However, for our camera, this situation is more complicated: the camera selects the parameters of the photograph, seeing only the shades of grey, and sees it as a large patch, interpreting this as an overexposed area. In order to properly illuminate the snow, use the Exposure Compensation function (usually a +/- symbol), set to the value from / + 1EV to + 2.5EV (depending on the circumstances). This will register as shiny white snow with a nice appearance.
If possible, save your images in the RAW format
If your camera offers the option of saving images in the RAW format as an alternative to the more popular JPEG format, it is worth using this function. It will allow you to register a much larger amount of information, allowing more advanced processing at a later time of the picture taken. Remember, however, that this format requires a “call” in a dedicated program – usually it is included with the camera. But if you don’t have this, there are free programs for processing such files such as f.e. RawTherapee.
by. Kuba Witos
Snow should be white
Snow is white. This is, of course, how the human eye perceives it, but again it can be a problem for the camera. Depending on the circumstances, we can notice strange colours: snow made up of hues starting from bluish, through magenta, and finally greenish shades. However, there are two simple ways to guarantee the correct colour of the snow, depending on the format in which we take the picture:
• When you shoot in the RAW format. The camera records full colour information which you can then freely modify. All RAW format editing programs offers the ability to read the point in the picture, which should be perfectly white and, based on this, choose the right colour. White sets are used to determine the white point (white card), but you can also use a plain white A4 sheet.
When using the JPEG format. To set the correct white balance, you can set the camera’s white balance to “strobe” or “flash” (the colour temperature around 5500K). This setting usually guarantees correct snow colours. But it’s important to remember that this technique applies to photographs taken during the day.
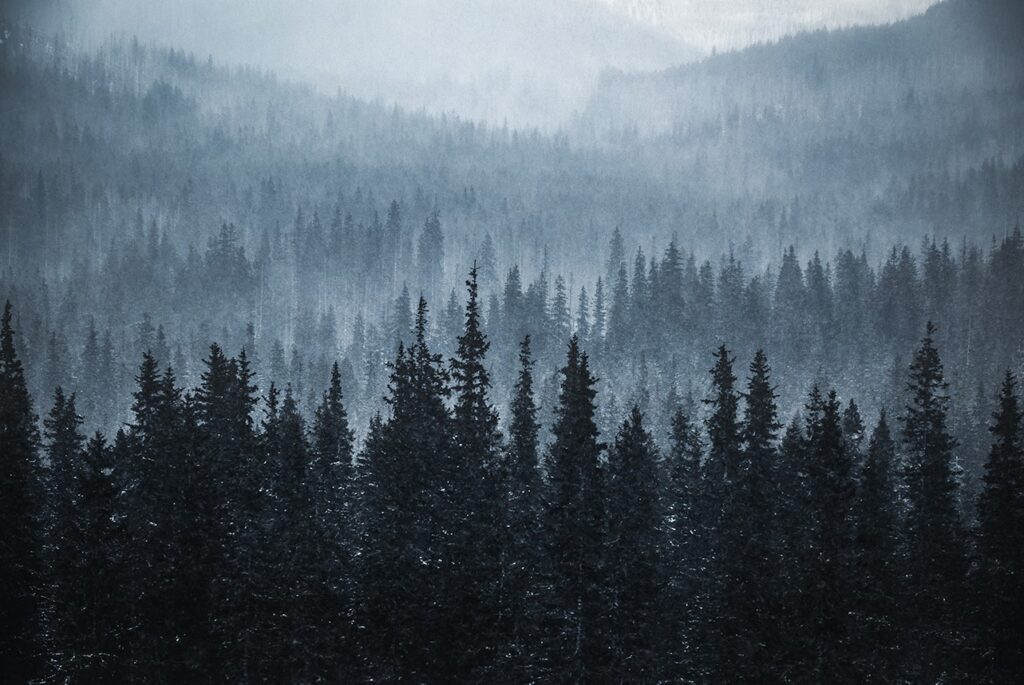
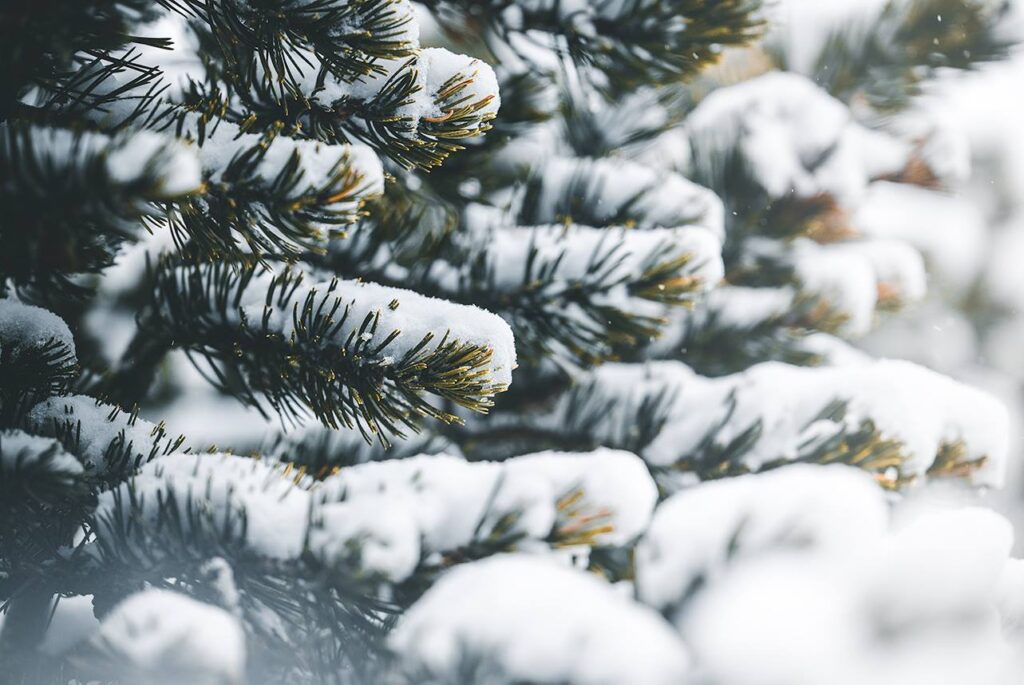
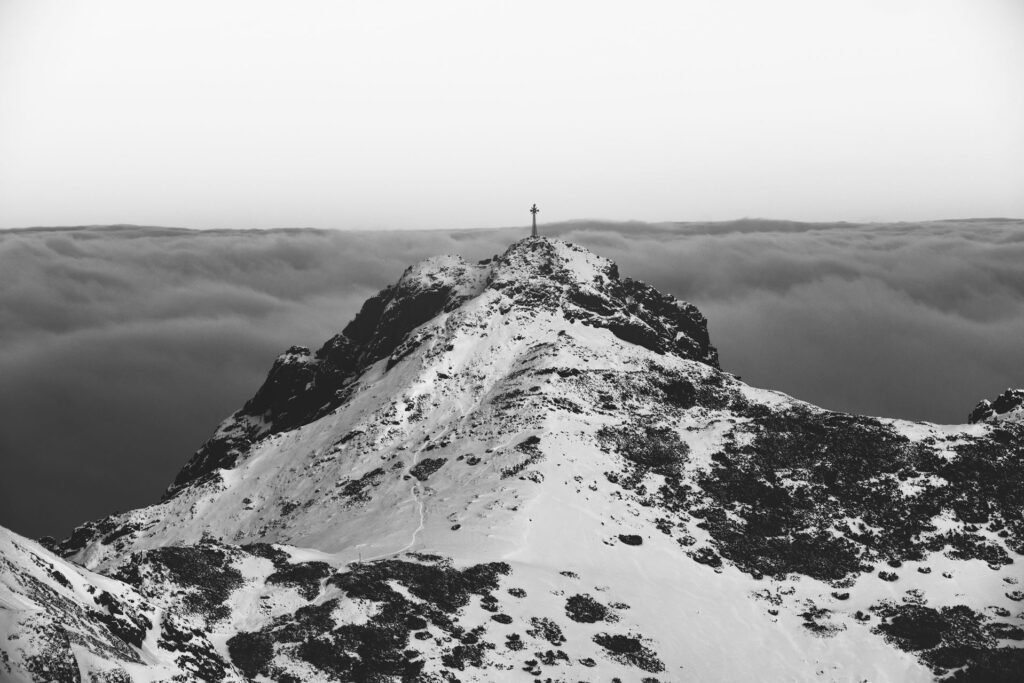
When there are no colours, try black and white photography
In a situation where you don’t have the necessary props to enter the colour or when you want to spice up your portfolio, it’s worth experimenting in the winter with black and white photography.
By removing the colours, the viewer’s attention will be focused on the shades of grey and the structure of the object. The Irix 150mm f/2.8 Macro 1:1 lens, in addition to the effectively separated background, will allow you to capture the detail thanks to the 1:1 reproduction ratio (1mm of the photographed object is projected onto a 1mm camera sensor). Look out for small elements characteristic of the winter season such as hoarfrost, snow, ice or coniferous twigs. To make the photograph even more attractive, try to modify the light thanks to flashes or blends.
by. Kuba Witos
Dress appropriately
In order to be able to focus on taking photographs, it is worthwhile taking care of our well-being. Be sure to dress warmly – a scarf, hat and good gloves are the basics. Remember to dress up in more thin clothes instead of a few thicker ones as this will allow you to avoid overheating.
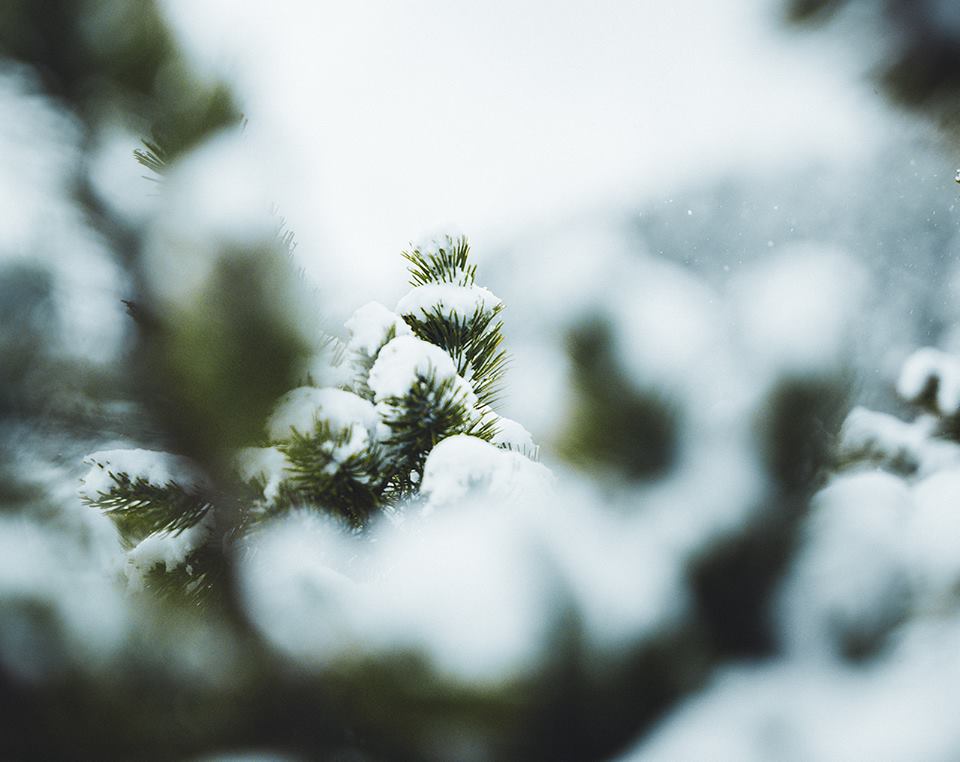
Set the focus point manually
Falling snow can be a problem for automatic focusing systems – the camera may get confused and focus on the falling snowflakes rather than on the object you’re interested in. It’s good then to rely on your own skills and focus manually. The Irix 150mm f/2.8 Macro 1:1 lens uses a wide ring sharpening with a long 270-degree rotation, which makes sharpening comfortable and precise.
Think about each step
Pay attention to where you want to go. Traces you leave in the snow can spoil your future photograph, so try to predict where you will have the opportunity for another good frame.
by. Kuba Witos
Do not delete photographs
Everybody takes an unsuccessful photograph or two that we want to immediately remove from our camera, but is it worth doing this? In winter, the conditions can be difficult when determining whether the picture is worth our attention (there is often frost, plenty of wind and a lot of light) on the small screen of our camera. It’s worth refraining from deleting photos as this allows us to evaluate them later in the comfortable conditions of our own home.
When you finish your trip, be sure to pack the camera into a sealed bag
Once you decide to finish your photographic adventures, be sure to wipe the camera to avoid moisture, then pack it into a sealed bag (e.g. a string bag). This is to avoid the phenomenon of water vapour condensation on a cold surface that could damage our camera (in the same way, the effect on our pair of glasses in the winter when we enter a warm room after a walk).
IMPORTANT: remove the memory card before putting the camera into the bag. It will allow you to download the photographs immediately after returning home.
Get out there and see the beauty on offer!
We all know how hard it is sometimes to force ourselves to go outside in the winter. However, let’s not give in to laziness – let’s go to get the white beauty on offer during this time of year; having memories that will accompany us in those later viewings of photographs will surely help us to survive and remain in a good mood for that long-awaited spring.
Written by:
Piotr Tomala
Irix Product Manager