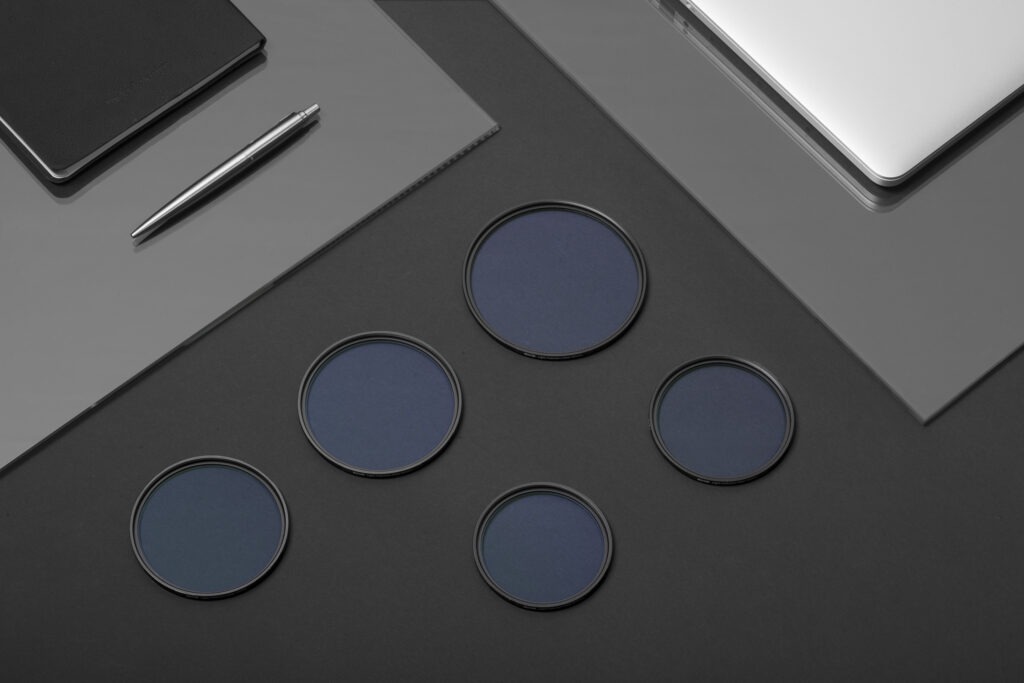
The Irix Edge Light Pollution Filter
So how does one avoid the bright yellow glow of the city and thus get real colours at night? Well, in this case a dedicated filter may be helpful – such as the Irix Edge Light Pollution filter – which is responsible for reducing the characteristic light emitted by the cityscape.
Considering light as a source of pollution may seem strange at first, but do we ever consider whether turning the light on in one room might be a little more visible than the light in another? The same thing happens with the city surroundings. They emit light at night in different ways and different colours (which are differing wavelengths), causing a glow that can effectively hamper or even prevent us taking photographs of stars or the Milky Way. Of course, the best solution would be to find a space free of air pollution, low humidity, and light pollution; but here we have to face up to brutal realities because there are relatively few places on earth that allow us such luxuries, and what there is, well, access to them is difficult. (Atacama Desert anybody?)
But let’s pause for a moment and consider the issue of light pollution. When looking at the cityscape at night, we can observe a yellowish glow over the buildings and structures, thanks to which we’re unable to see the stars in the sky. It’s in urbanized areas that we usually find sodium lamps, the cheapest source of light in operation. We all know what they are because they emit a typically yellow – and rather unpleasant – light which, paradoxically, is beneficial for us.
As we know, light consists of waves of different lengths. The human eye captures a spectrum of light with a wavelength of 400-700 nm, while sodium lamps emit a very narrow spectrum of light with a wavelength of ~ 589nm. Applying this knowledge, we can use an appropriate filter which has specialized coatings, and that will minimize the yellow colour being cast. The Irix Edge Light Pollution filter eliminates much of the light pollution emitted by most cities, thus allowing us to extract more astronomical objects from the sky.
It is worth noting that the light pollution filter is useful not only in astrophotography; it’s also helpful in any type of photography that we can devote to night-time shots in the cityscape scenery, giving it some interesting effects. The yellow light generated by the city’s sodium lighting significantly reduces the contrast and causes an ugly colour cast which can result in rather uninteresting photos: shots that are deprived of “that particular something”. The light pollution filter, which greatly reduces the yellow dominant, will allow us to extract the real colours being emitted by the city (signs, neon lights, lamps etc.), and significantly increase the contrast within the photographed scene.
On this occasion, it’s worth mentioning that, in the Northern Hemisphere, we only have the possibility of photographing the Milky Way for a few months, so we should prepare ourselves in order not to lose this unique opportunity to take those breath-taking night scenes.
So when you don’t have what you want, you should like what you have.
While being in an urbanized area, let’s concentrate on how we can influence our surroundings and equipment so that the pictures we take are the best to our abilities. Here’s a few tips on how to prepare a night-time photo-trip to bring out those beautiful frames.
Check the humidity. It must be as low as possible. The winter season favours night-time photography because, at temperatures below zero degrees Celsius, the moisture simply freezes, making the air more transparent.
Investigate into the level of air pollution. It is worth checking to see if there is a high intensity of smog and other pollutants that can negatively affect our photos (and health).
Use maps that examine light pollution. Light pollution maps are widely available as well as being dedicated smartphone applications. Thanks to them you’ll find the least light polluted places.
Example: https://www.lightpollutionmap.info
Prepare and get to know the location well. Check where you can take interesting photographs and ensure that no landscape feature will obscure any key element of the picture such as the stars, nebulae, constellations, the Milky Way, etc.
Dress up warmly. It goes without saying that the nights are cold. But when standing still, often in the wind, the risk of getting cold is much higher. In addition, your fingers will become numb with the chill and can make the camera difficult to handle. An additional sweater and a thermos with coffee is highly recommended.
Make a list of things to take. It is always worth checking in advance if we’ve got all the necessary things. My set usually consists of a camera, two lenses (wide angle and tele), a tripod, light pollution filter, two memory cards and a minimum of two batteries.
Be sure to take care of your safety. It’s dark. It’s cold. Let someone know that you’re going out at night. You can’t predict what’s going to happen so it’s better that someone be informed.
Bonus Tip:
Use the rule of 600!
This rule concerns the apparent movement of the stars in the sky caused by the rotation of the Earth and trying to avoid the effect of moving stars.
This rule is really simple to use: the ‘’600’’ should be divided by our focal length, and the result will be the maximum exposure time with no visible movement of the stars. For example, the lens that we’ll use is the Irix 15mm f/2.4, so we divide 600/15 = the 40s. With such a long period and bright optics (f/2.4) we can use the lowest possible ISO value, thus not only reducing the noise but also allowing our camera to record images with a wider dynamic range, which is really handy when, afterwards, we begin to post process our images.
Author:
Piotr Tomala
Irix Brand Manager