Irix: a guide to astrophotography
We present to you a guide to Irix astrophotography: you’ll find many interesting and practical tips that will make your adventure with photography even more enjoyable.
In addition to the full text in English, there are also downloadable versions below:
-English: Irix – A Guide to Astrophotography – ENG
-French: Irix – ASTROPHOTOGRAPHIE – GUIDE – FR
-German: Irix – ASTROPHOTOGRAPHIE – der Leitfaden – DE
-Polish: Irix – Astrofotografia – poradnik – PL
We invite you to check it out!
A Guide to Astrophotography

Taking photos of the night sky may seem very easy. Today, the masses can purchase photography equipment that create stunning astrophotography images, a niche that was once reserved only for professional photographers. This type of photography is not for the impatient; results are not always as easily and quickly obtained as it may seem, and even then, they can turn out far worse than expected.
Nighttime photography can be divided into two groups. The first is the typical (but beautiful) images of galaxies and nebulas, and the second being photos of planets reserved for astronomers and research – even the best telephoto lenses fail miserably in comparison with simple telescopes; this type of photography goes beyond the scope of this guide. We’ll do something that is fully available to us, as long as we have a decent camera and a good wide-angle lens. This kind of equipment is primarily used to photograph the Milky Way, comets, and the sky’s movement, but we’re also on the lookout for meteors. It is possible that we will also be able to see stars that are weaker than those seen with the naked eye, and see their colors, which we can’t otherwise see without camera equipment. Finally, we can also analyze the movement of satellites, and time lapses will let us see that some of them are moving in highly elliptical orbits.
I decided to take all the photos on one single August night. Location: Beskid Wyspowy, Poland (approx. 50th parallel north). There are no visible comets, or even great weather. Visible lighting is low on the horizon, and in four words – not very favorable conditions. Equipment: Pentax K1, Irix 11mm and Irix 15mm. That’s all for theory and preparation – now let the pictures speak.
Initial Struggles
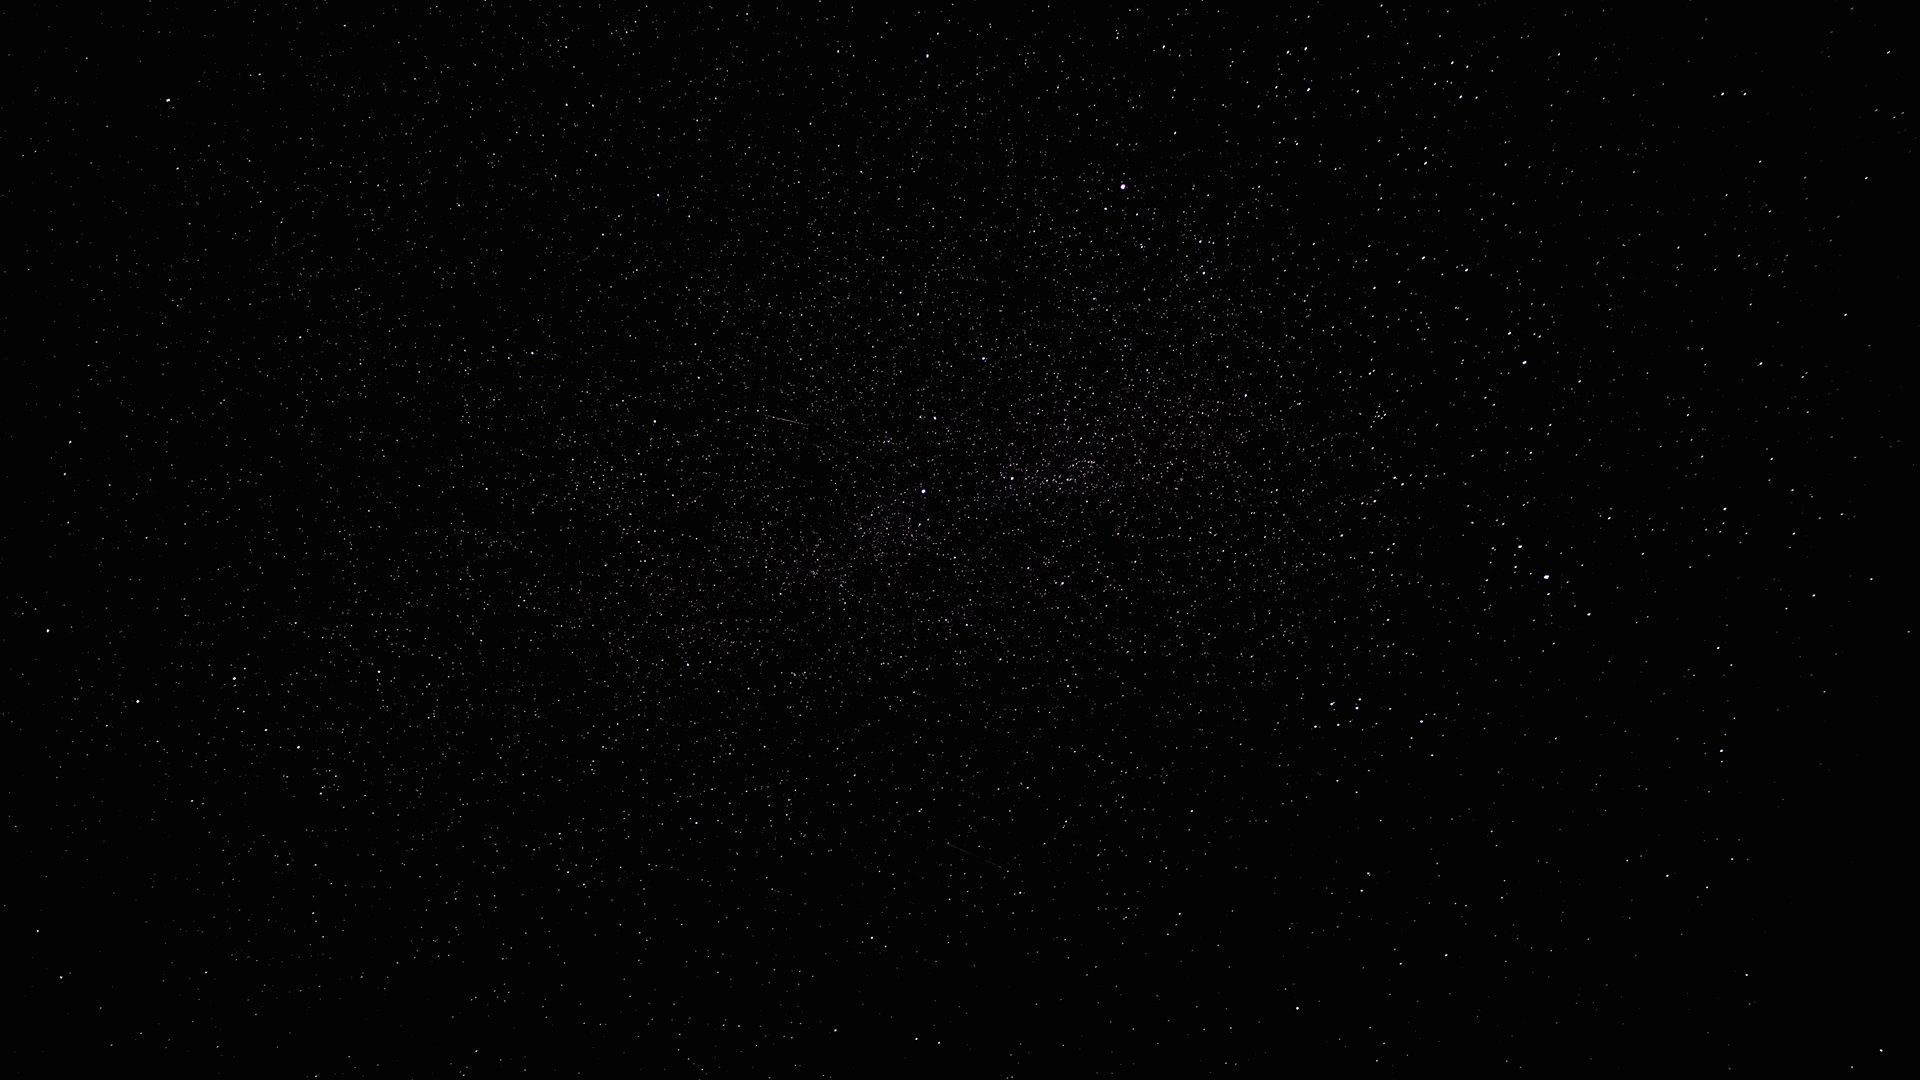
The first attempt was not encouraging. We see the sky more or less in the same way as near the city – somewhere beyond the illuminated lines. I suggest you set your ISO to 3200.
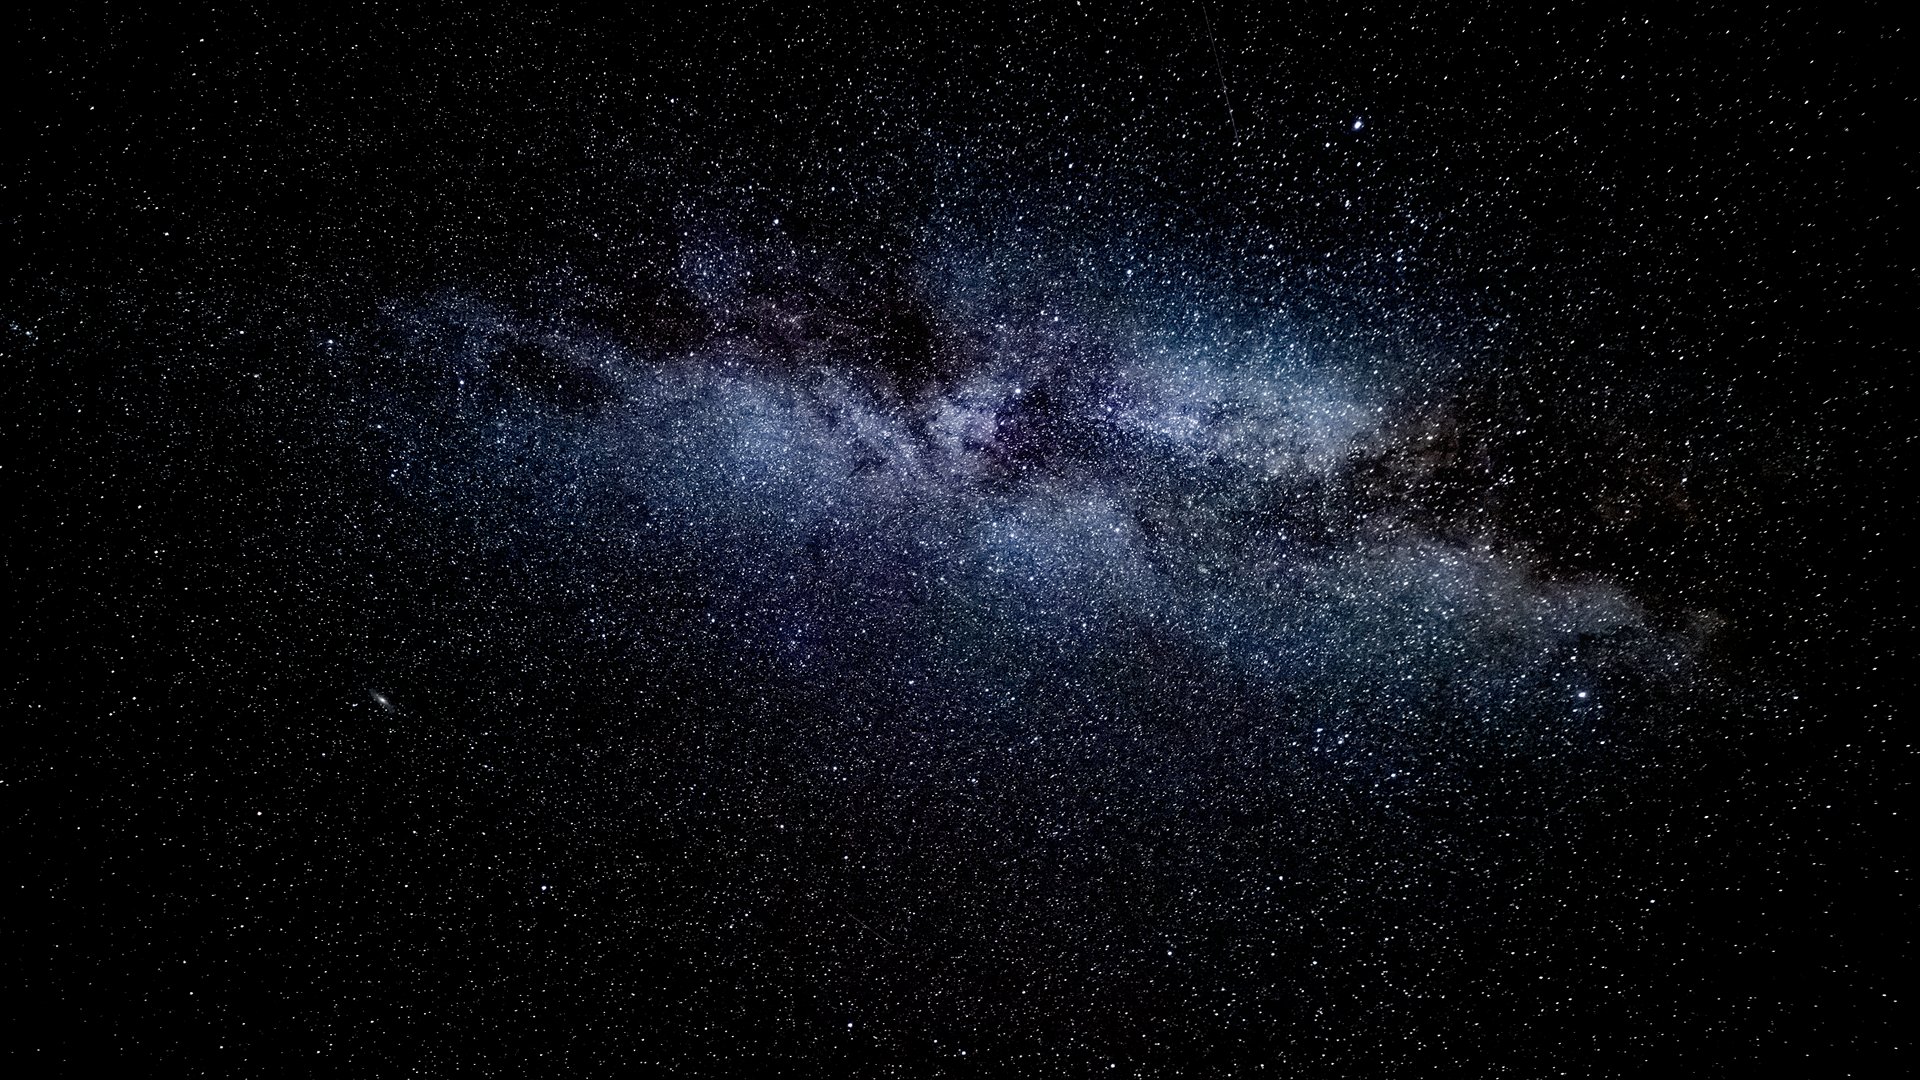
You can already admire the Milky Way, but I must admit that the photo was heavily processed in Lightroom. In astrophotography, we usually fight with digital noise and this photo is no different – it is difficult to decide as there will always be a choice between a stunning, albeit processed image, and the reality of the sky as seen by the human eye.
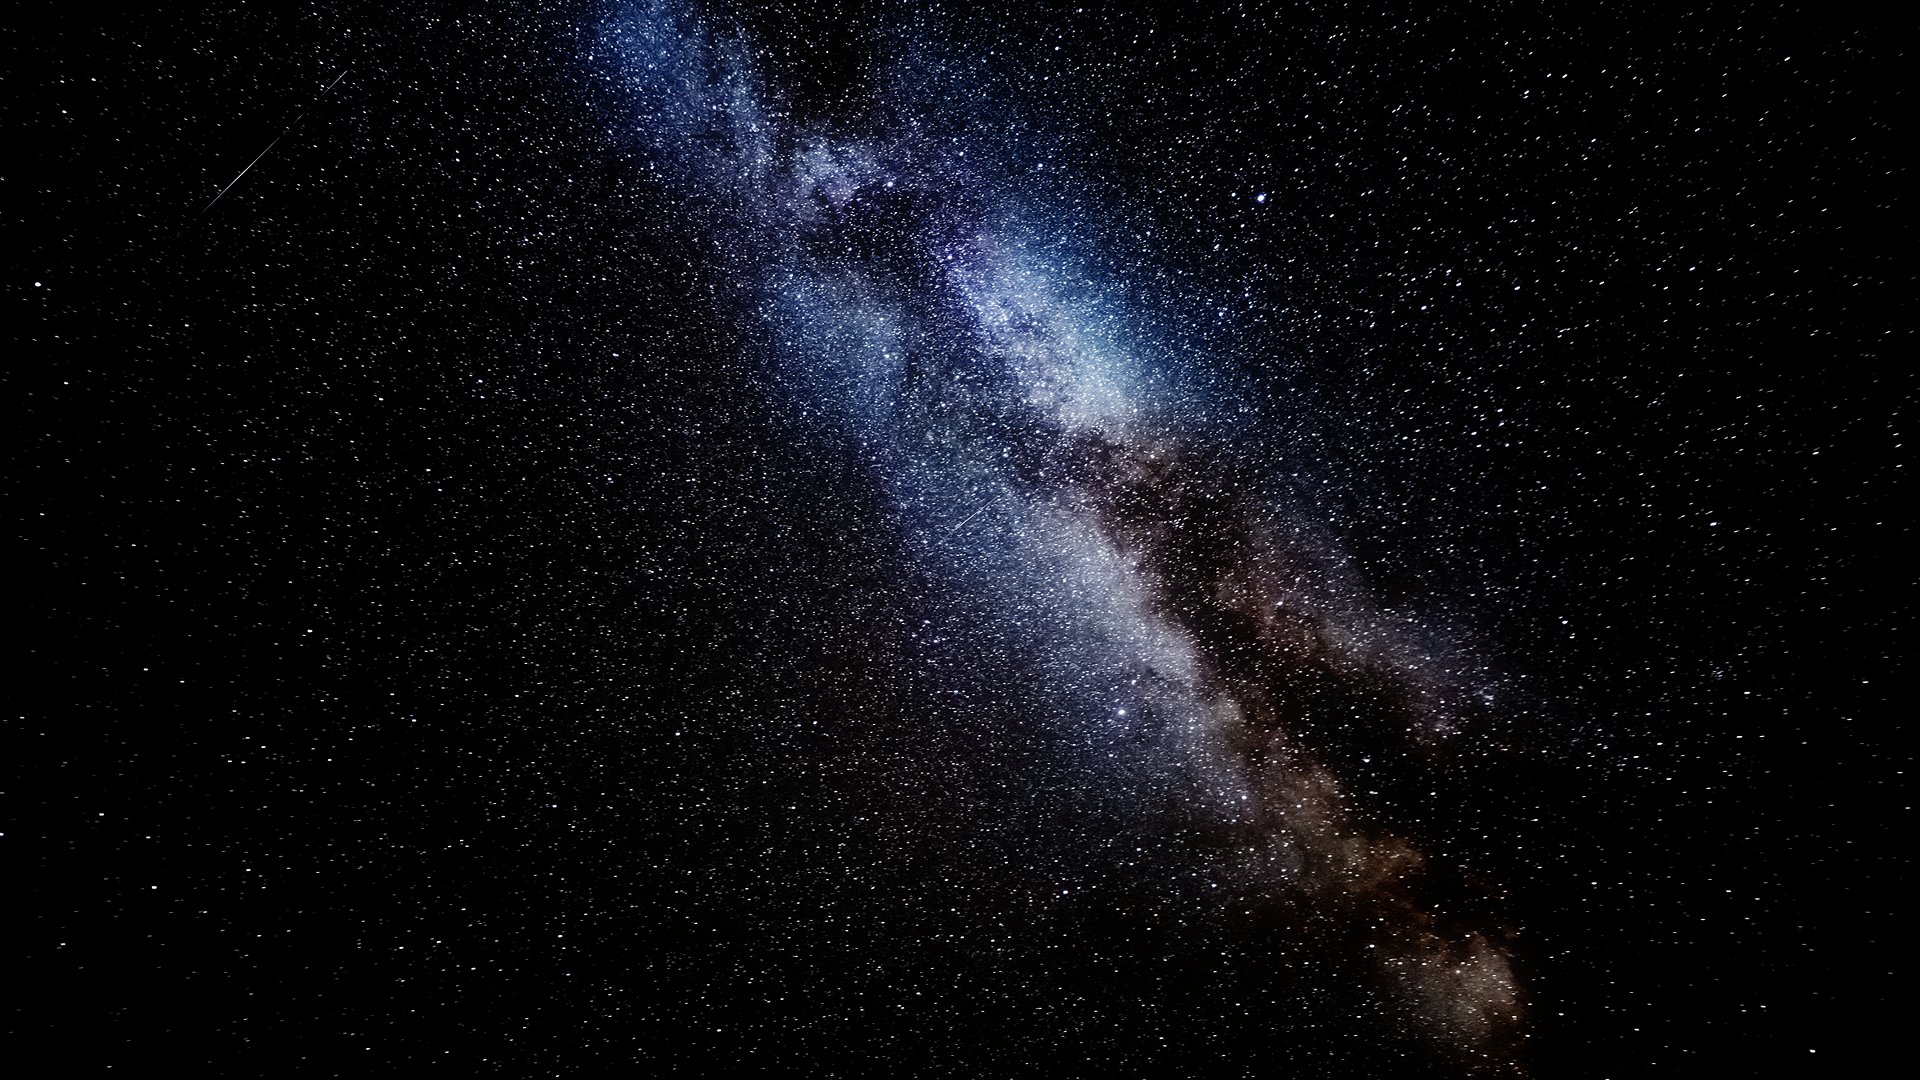
Another shot of the Milky Way (our galaxy) and the first meteor I caught. Sensitivity was reduced to 1600 iso, but the picture was brightened more during post-processing.
Startrails and Colorful Stars
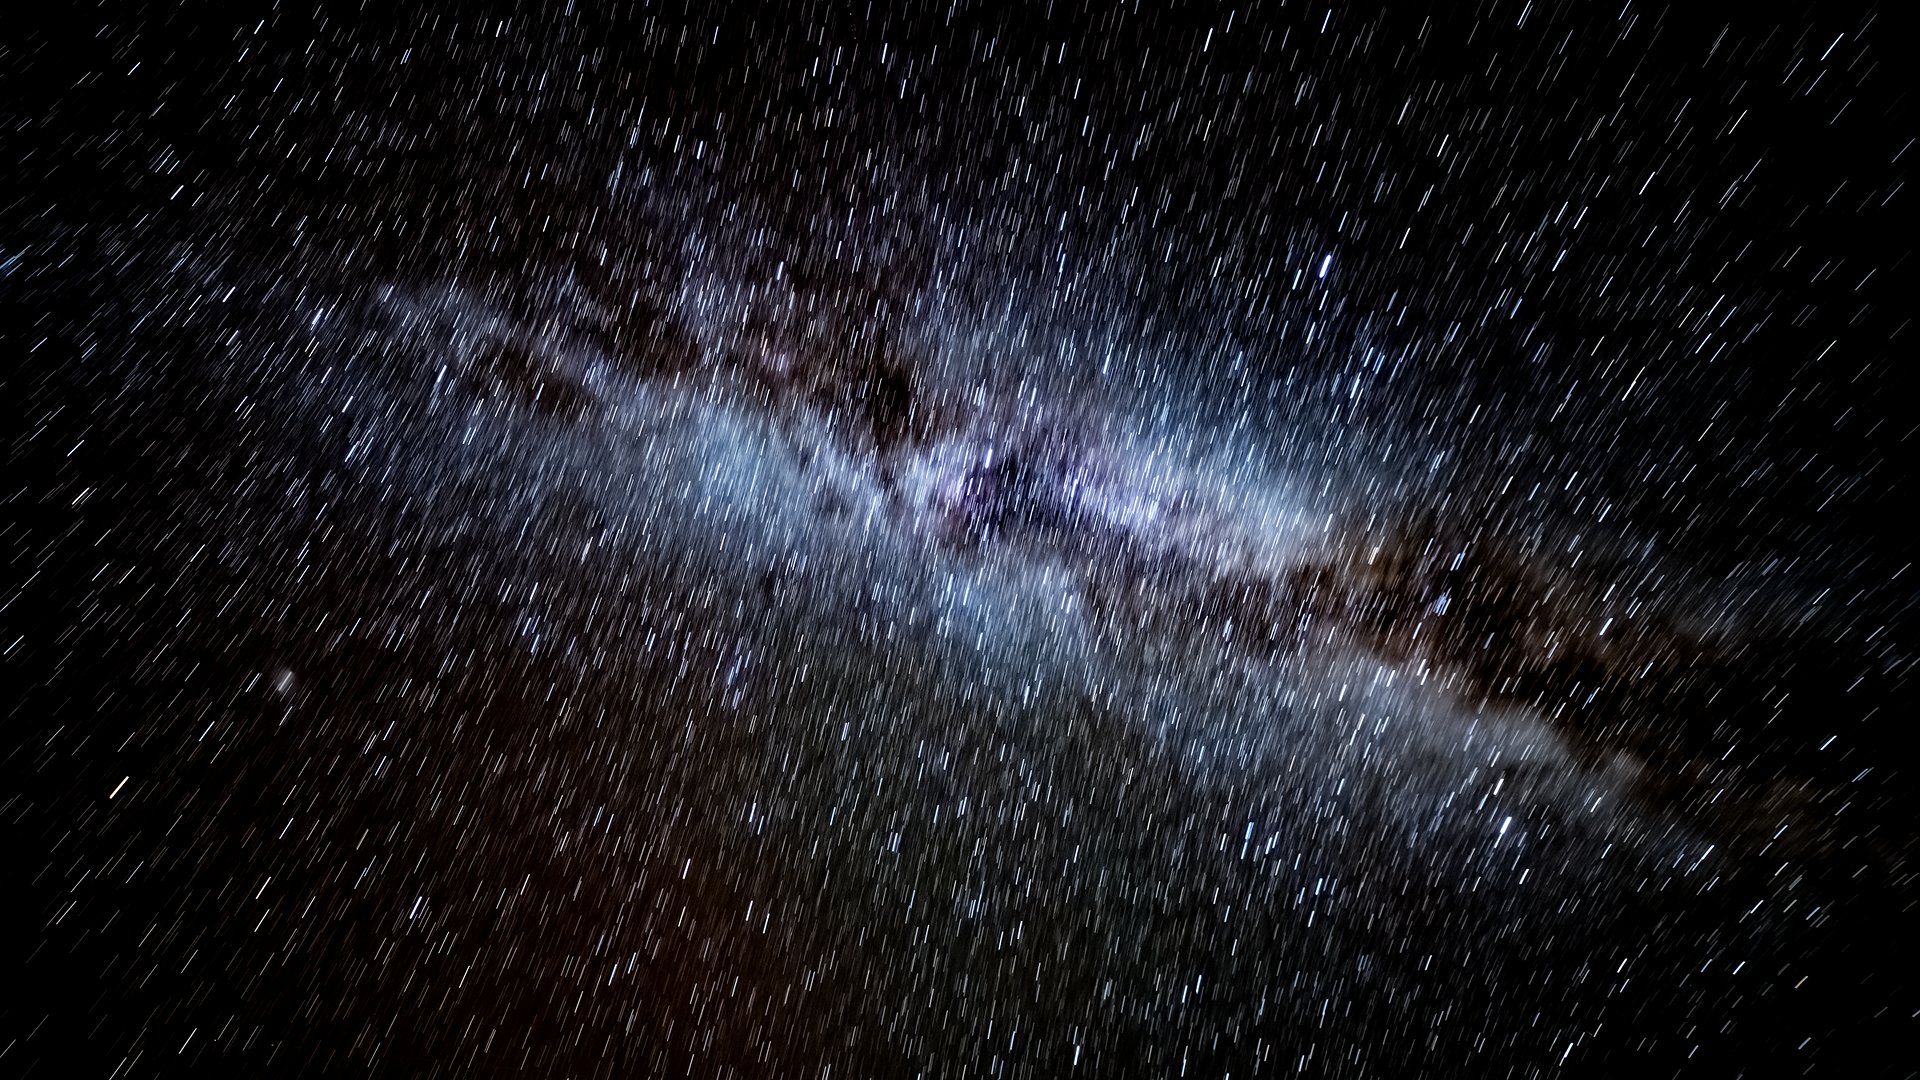
Now let’s look at what will happen when we extend the time to five minutes. ISO is set to 1600. The photo is so heavily exposed that you no longer need to brighten the photo, or risk having a soft image due to high apertures. Due to the exposure time, short lines appear and the whole image becomes fairly chaotic.
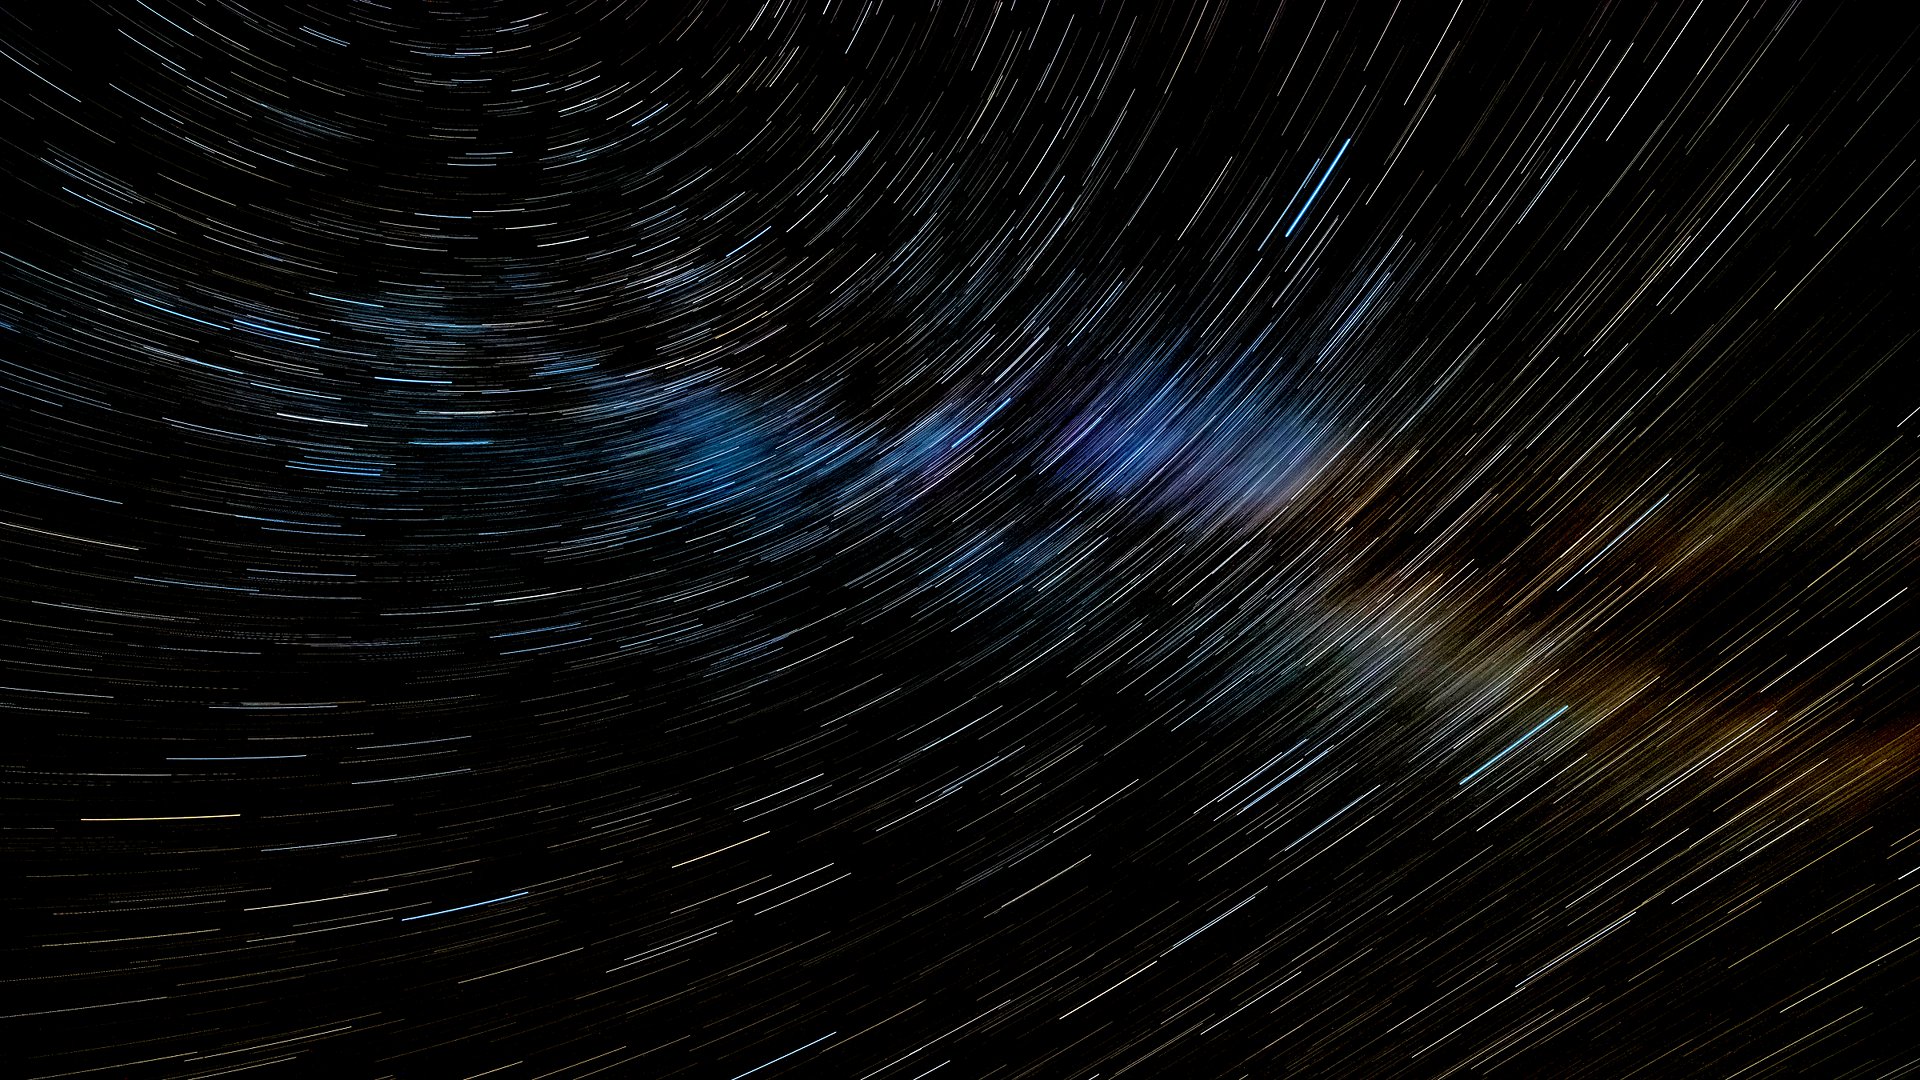
It gets interesting when we expose for a longer time. After half an hour, the stars’ outlines become clear, colorful archs – they even have their own name: startrails. If we used the current exposure parameters, the photo would be overexposed- that’s why we use the lowest ISO at f/8.0.
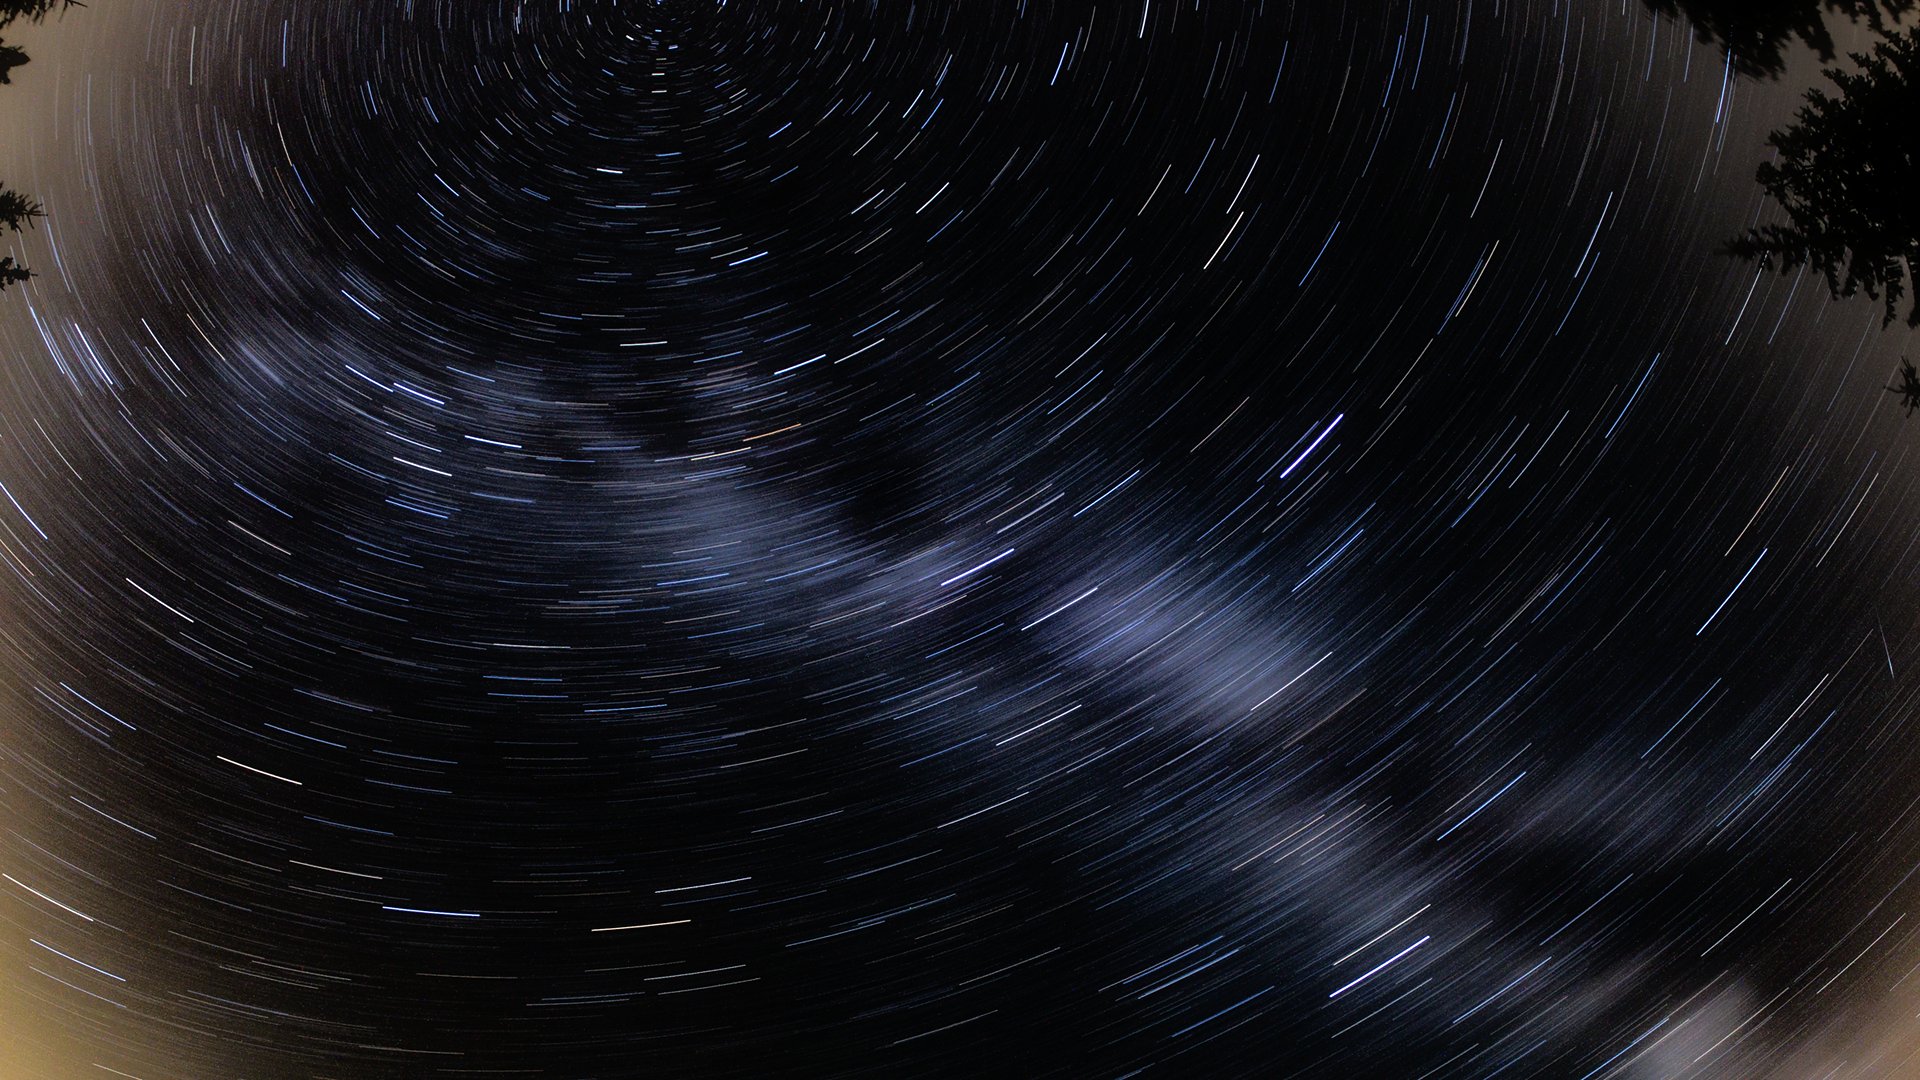
If we want to capture as many stars as possible, we might face the problem of a glowing horizon. Despite the fact that you might be in an isolated region (away from cities), after half an hour of exposure, nearby villages affect the image significantly. It is not visible to the naked eye, but the unfortunately the camera captures it anyway.
It is obvious that for longer periods of time, without using a star tracker, we won’t be able to take clear pictures of the stars. Experience shows that you can’t see the stars with the naked eye. The color of the star depends on the surface temperature – red is the coldest and blue is the hottest. Exposure time: one minute, ISO 1600, f/6.3. You have to take care not to overexpose the image, because then we will not see the colors.
How to avoid problems
Here I will show you the problems caused by using a weak plastic tripod. Besides high-quality equipment, I also brought with me cheaper tools and tripods, to see how they affect astrophotography. You can clearly see visible scratched vibrations, caused by slight wind and the poor fit of the tripod components. At the very end of the camera it shook strongly (because I turned off the shutter manually) and drew a pattern visible at the trail of the brightest star.
Not every night is cloudless, and moving with rare clouds can still add charm to such photos. ISO 1600, f/2.4 and 4 seconds.
At 30 seconds, the clouds moved, and it created a photo from a different perspective. The rest of the parameters remain unchanged.
A Little More About the Sky
As I mentioned above, 30 seconds will give a slightly blurry photo of stars, but this time the horizon was a part of the frame. The forest visible in the foreground will of course give us an fixed plane, and the slightly blurred stars will create the illusion of a fairytale-like sky, characteristic of holiday postcards. The background light comes from buildings located a few kilometers away. ISO 6400, f/2.4
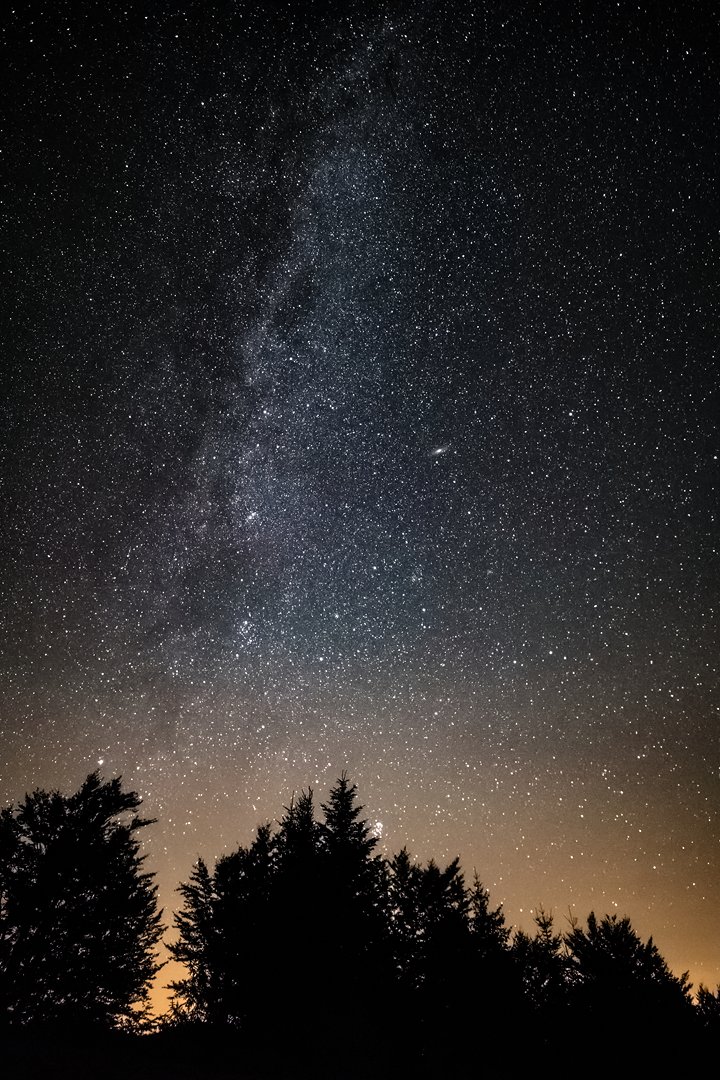
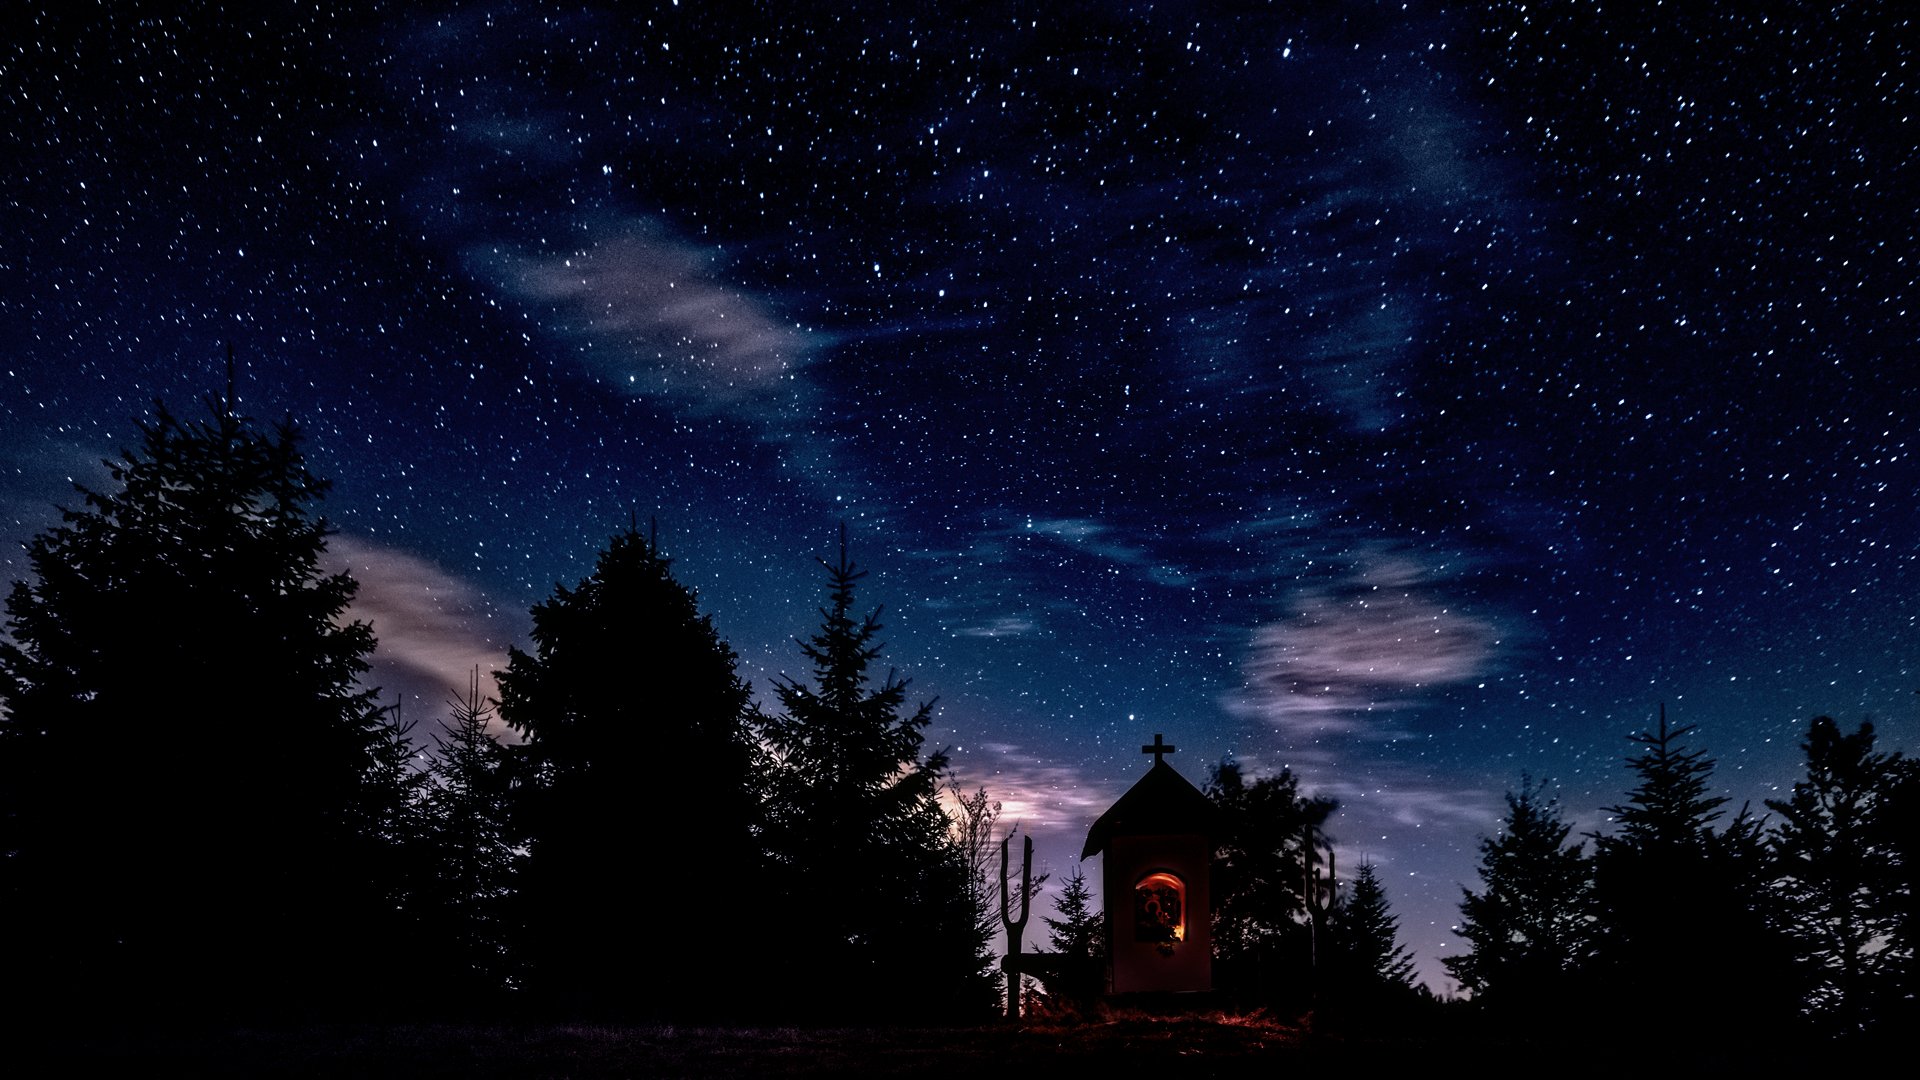
In astrophotography, it’s common to see wide-angle vertical shots. Thanks to this, you can fit the entire Milky Way above the horizon, and the whole image looks spectacular. Conditions as before, time: 20 seconds.
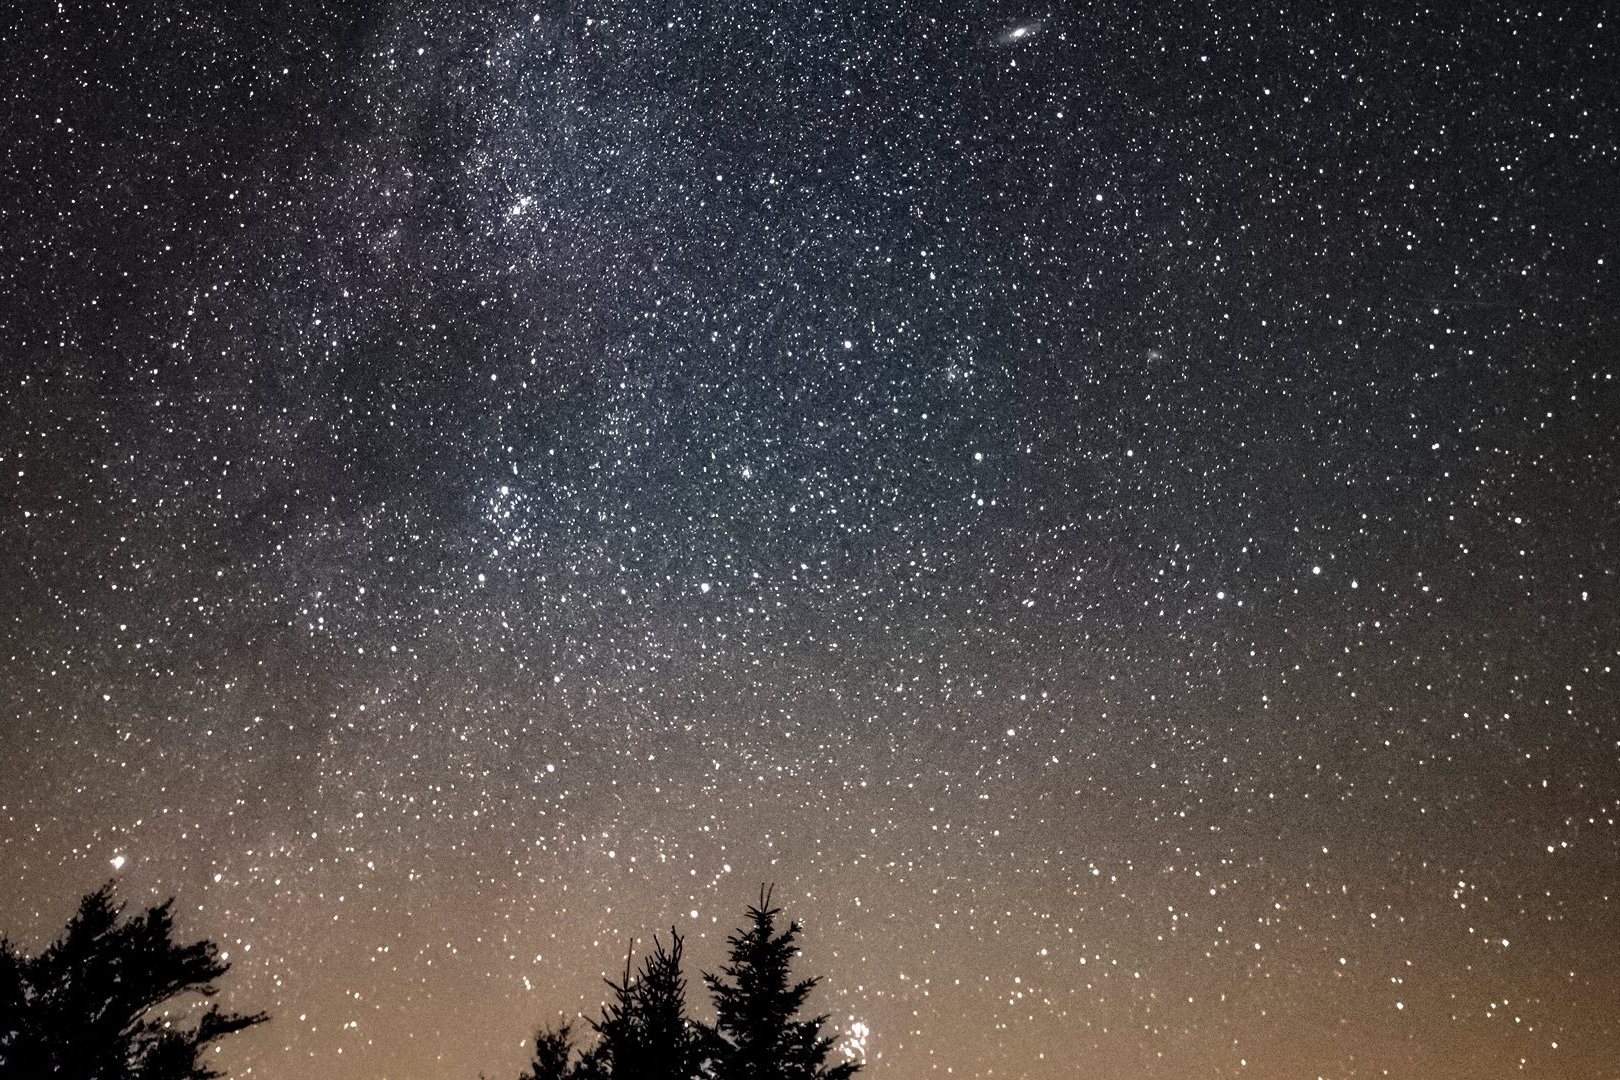
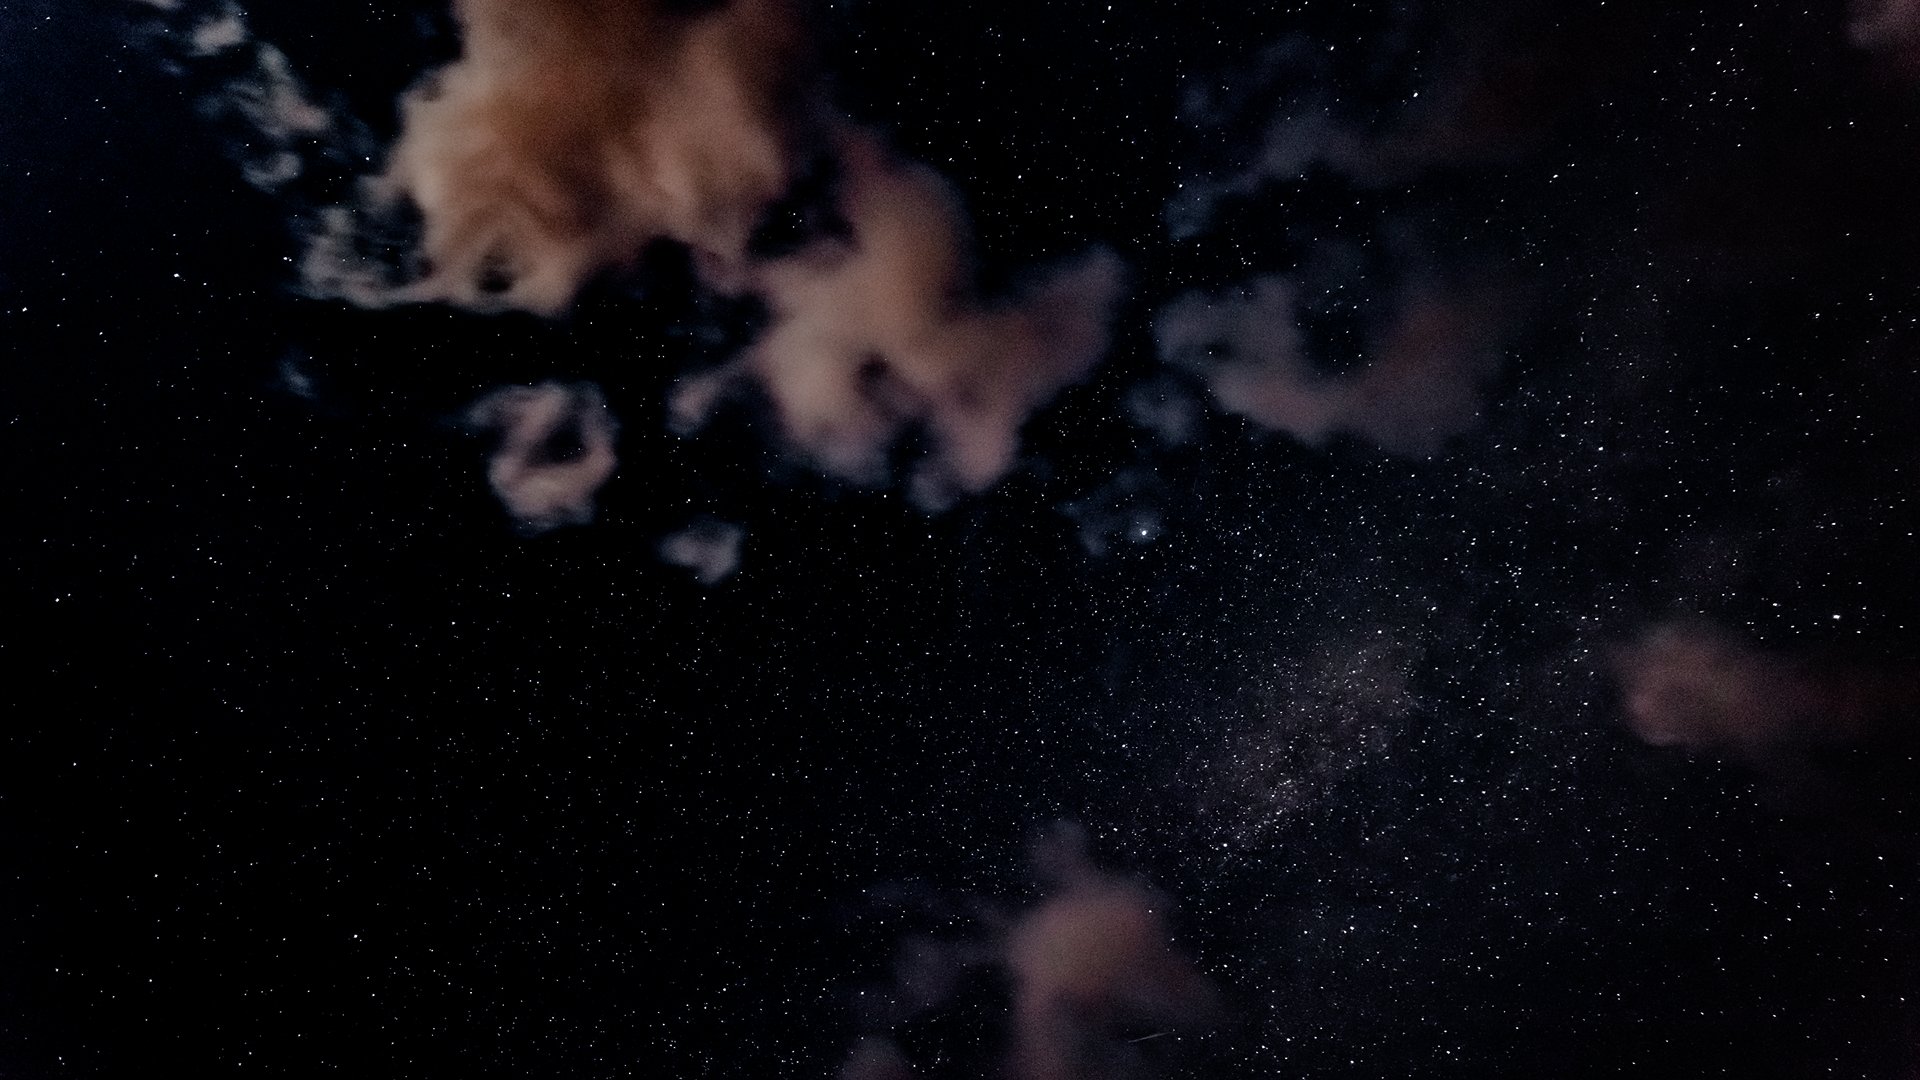
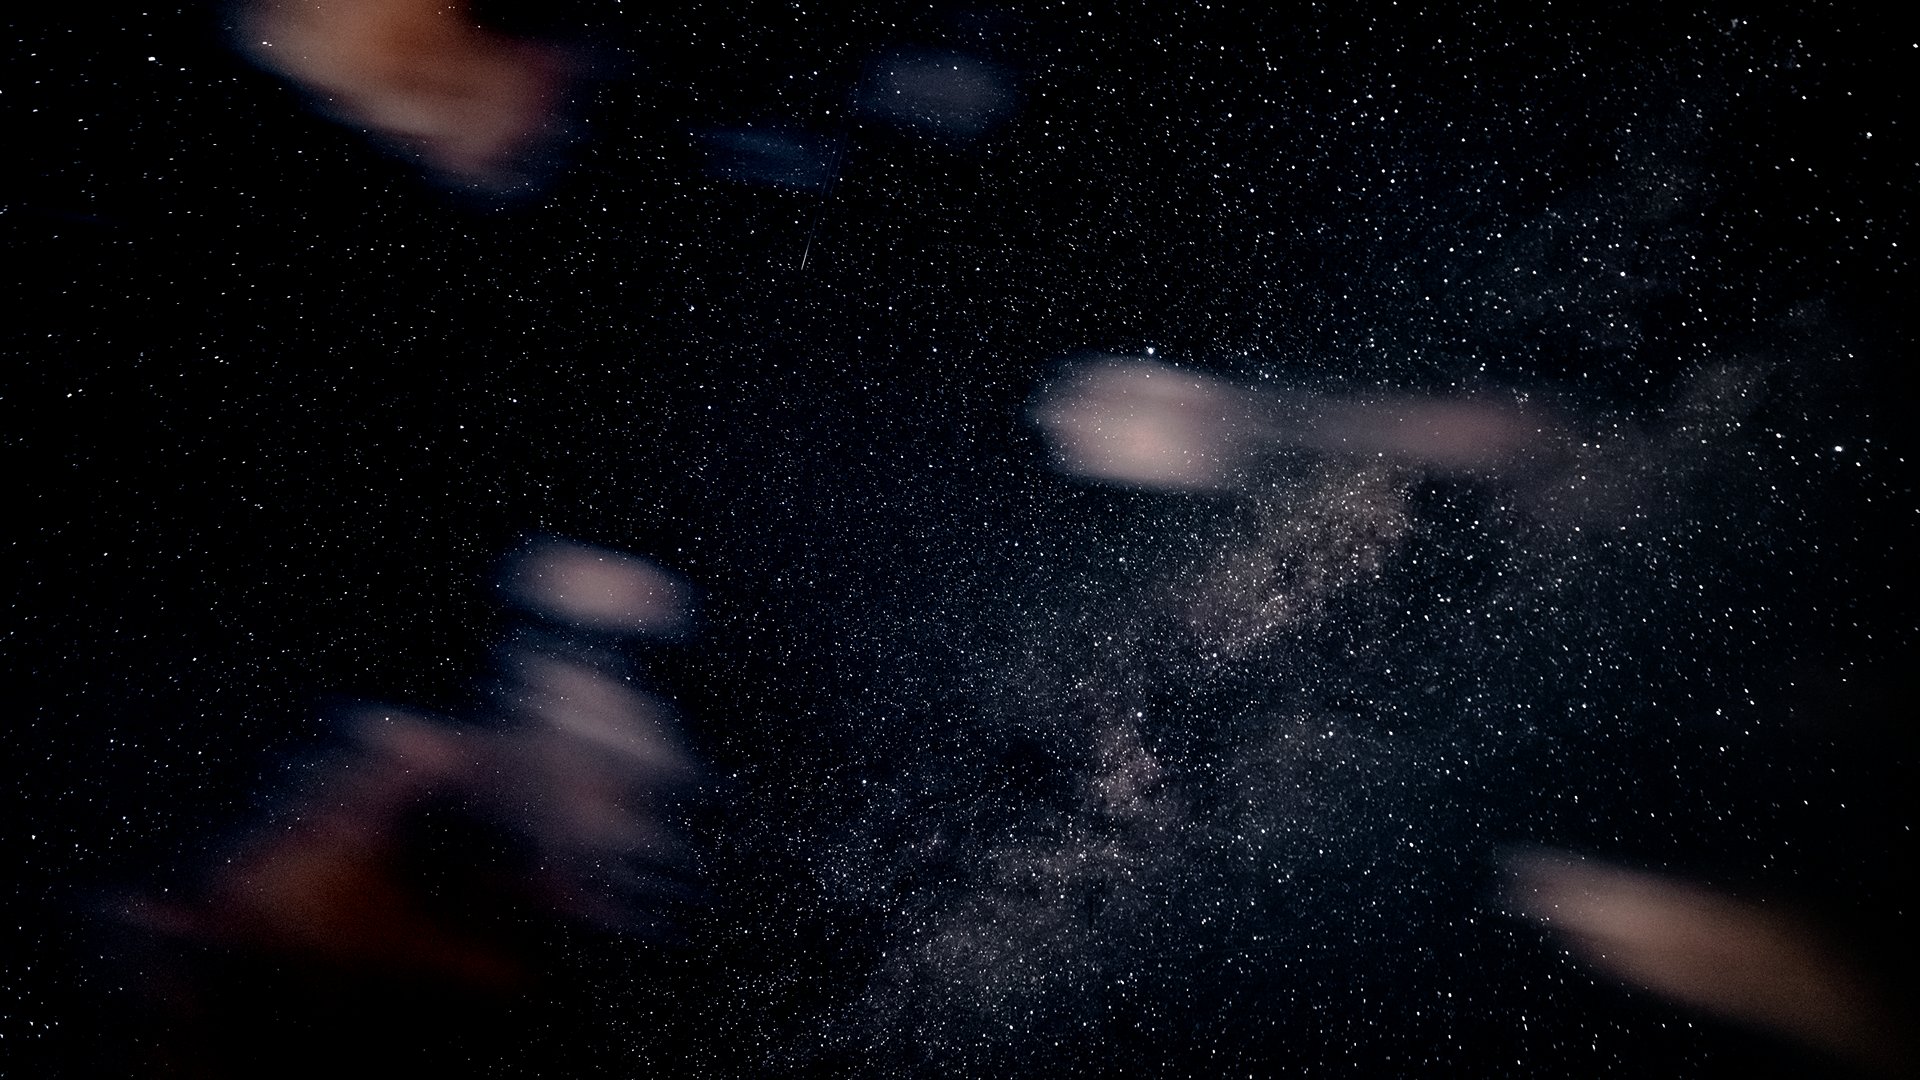
Let’s enlarge the previous photo and look at the details. Few people are aware of the fact that other galaxies can also be seen with the naked eye, especially in such photos. At the top is the largest one that (except the Milky Way) can be seen from Earth, namely the Andromeda Galaxy. At the bottom, between the branches of spruce, you can see the rising Pleiades – a characteristic group of stars surrounded by a nebula. On the left (above the second tree) shines Kapella, one of the brightest stars in the sky. It is worth using one of many astrophotography programs for both analyzing and taking photos of the sky. We can then see phenomena that often changes in the sky, such as planetary systems and comets.
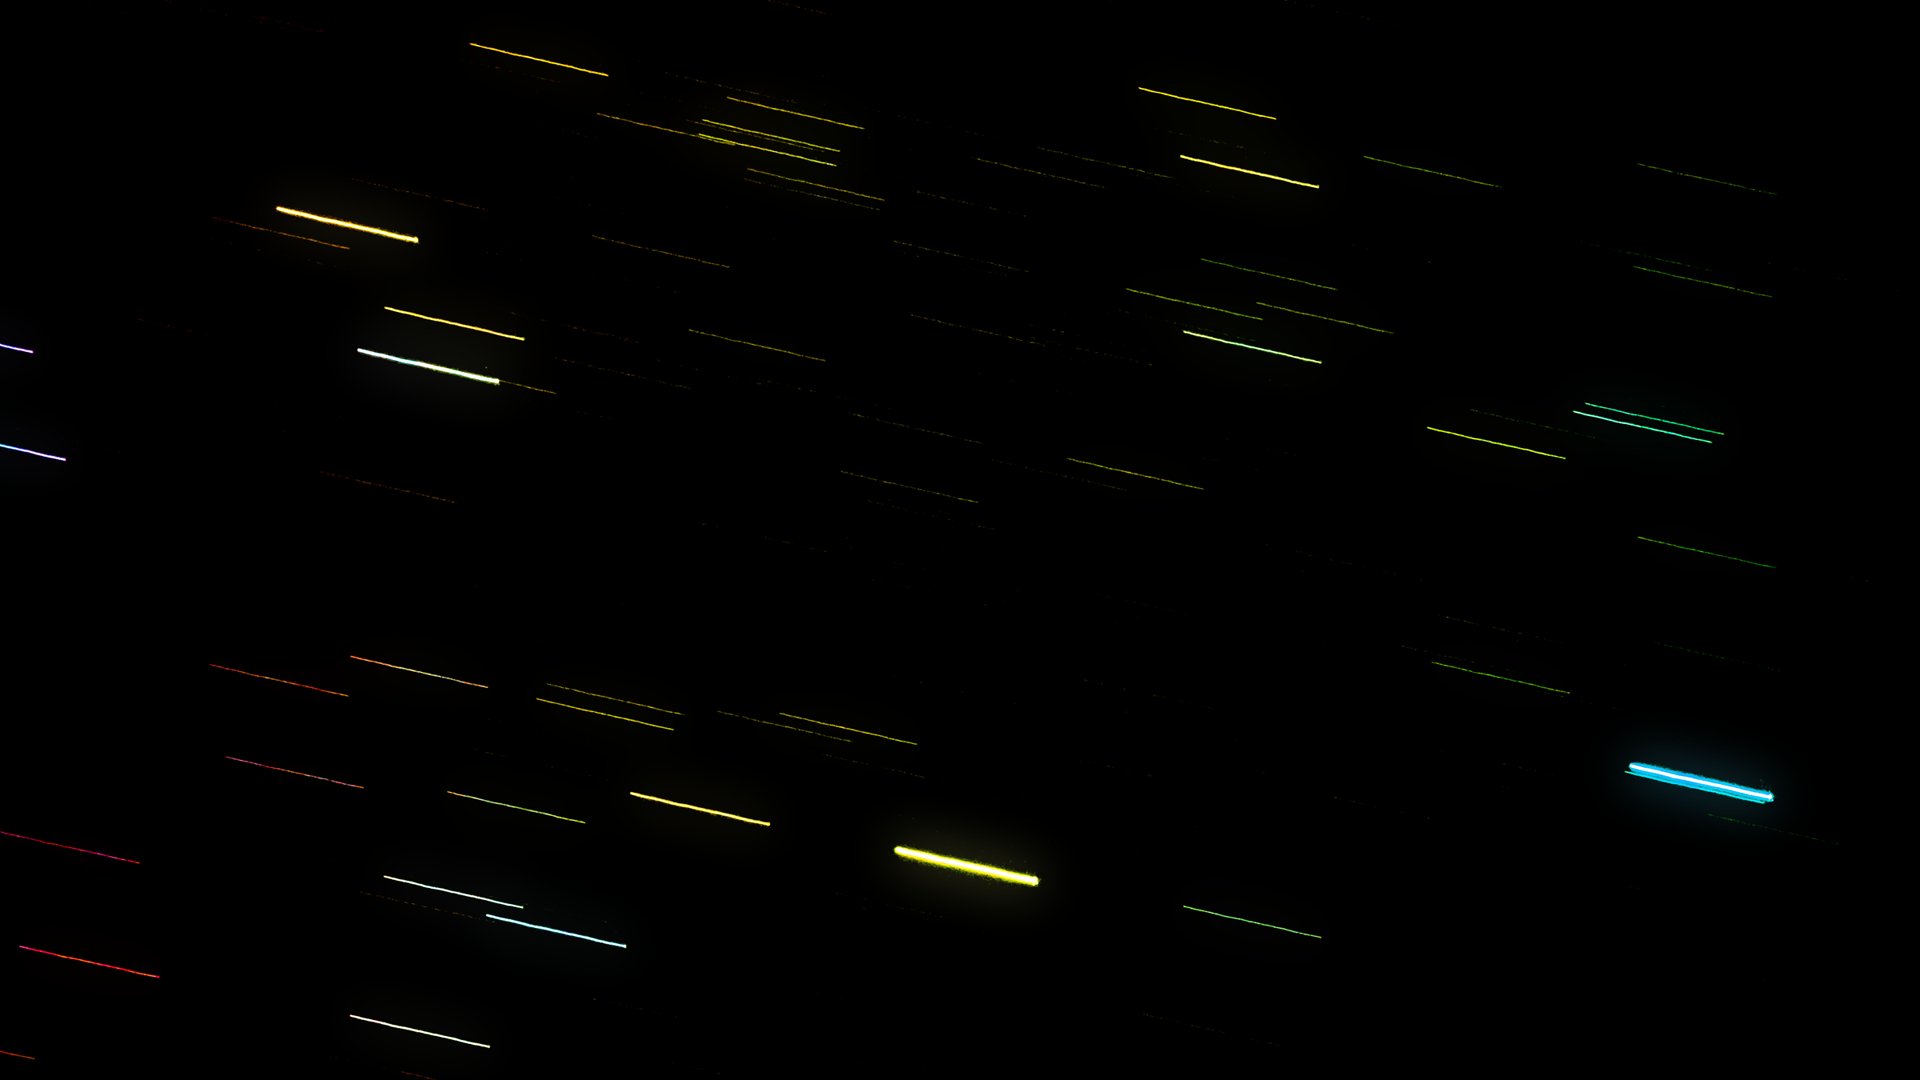
How to Find Meteors
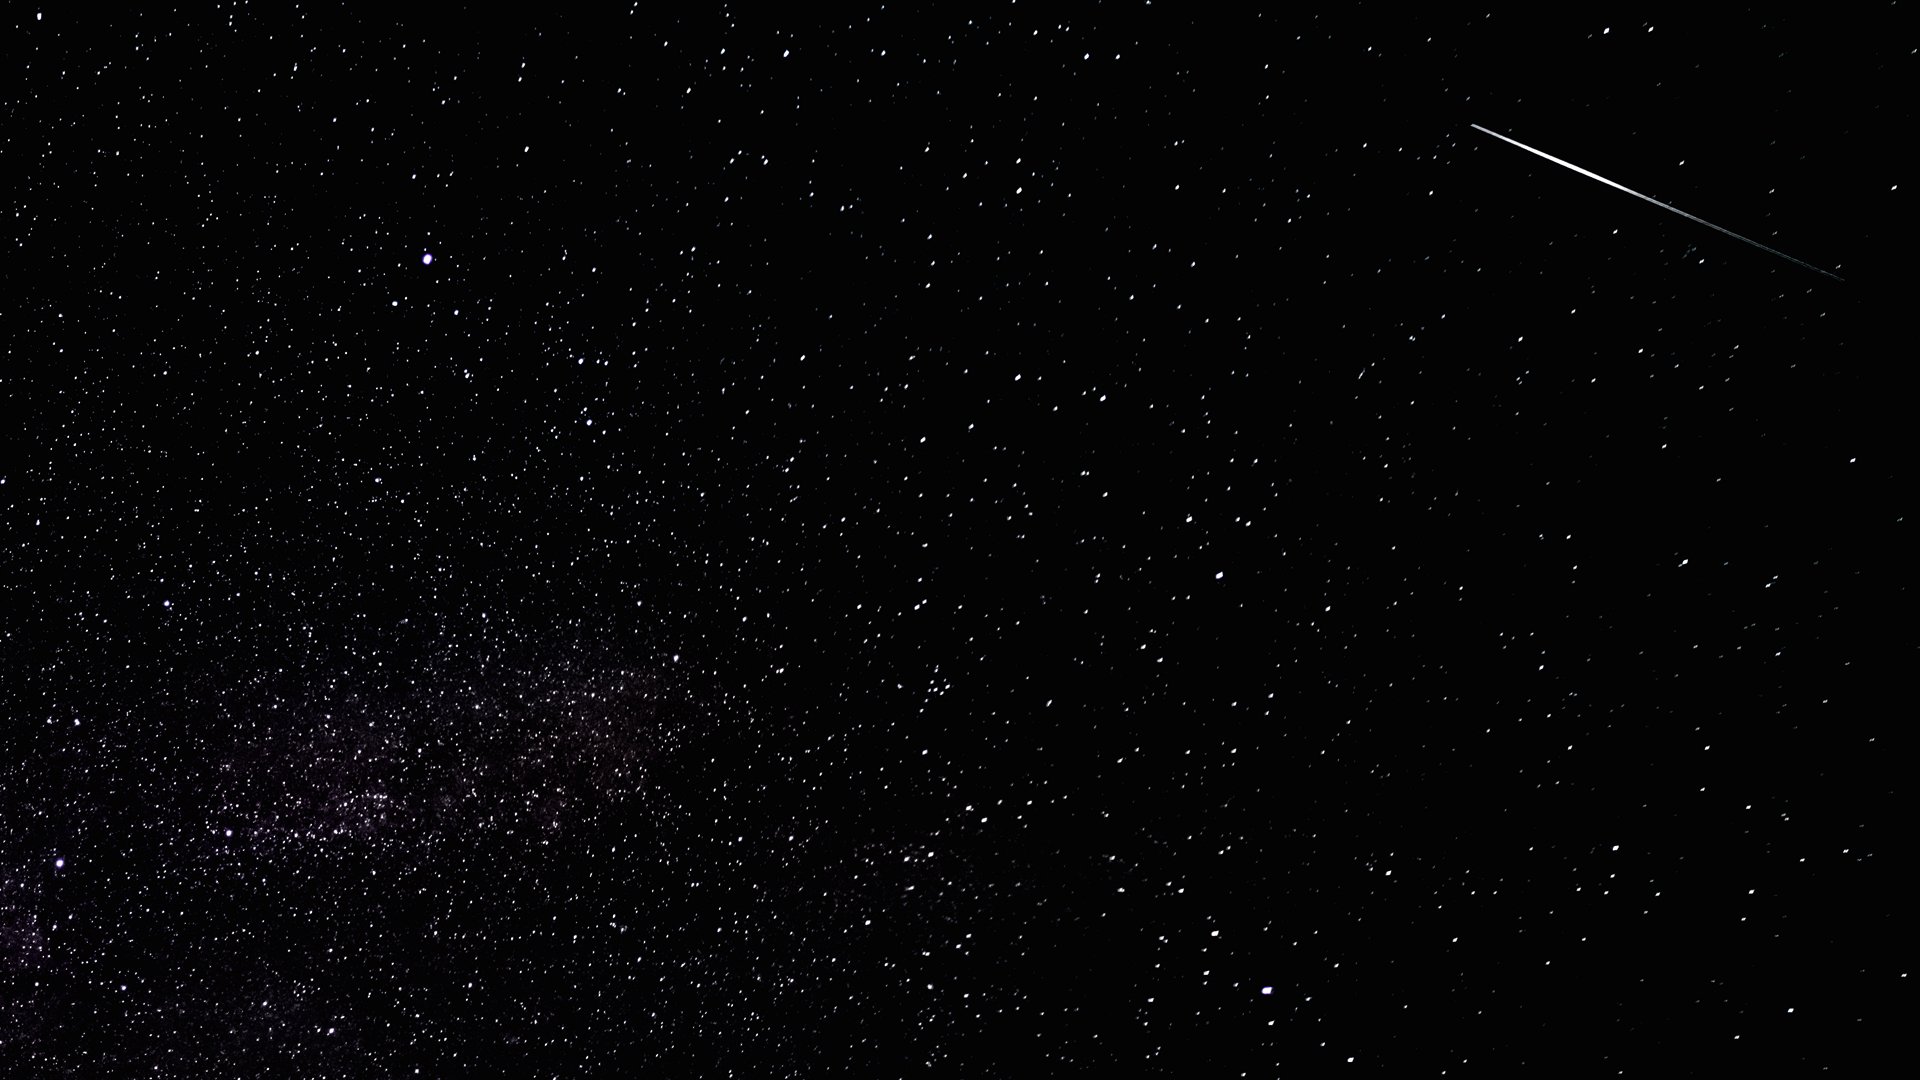
The search for shooting stars is a persistent task. The phenomenon is not as common as it seems. First of all, many observers confuse meteors with the passage of satellites and even airplanes. Most meteors are phenomena barely visible to the naked eye and do not leave significant marks on pictures. However, during a period of maximum swarms (several hours), we have the opportunity to photograph meteors that are not fake, with strong and clear trails. Let’s learn to recognize them. For testing I chose to shoot each photo for 15 seconds, with an ISO of 6400 iand an aperture of f/2.4
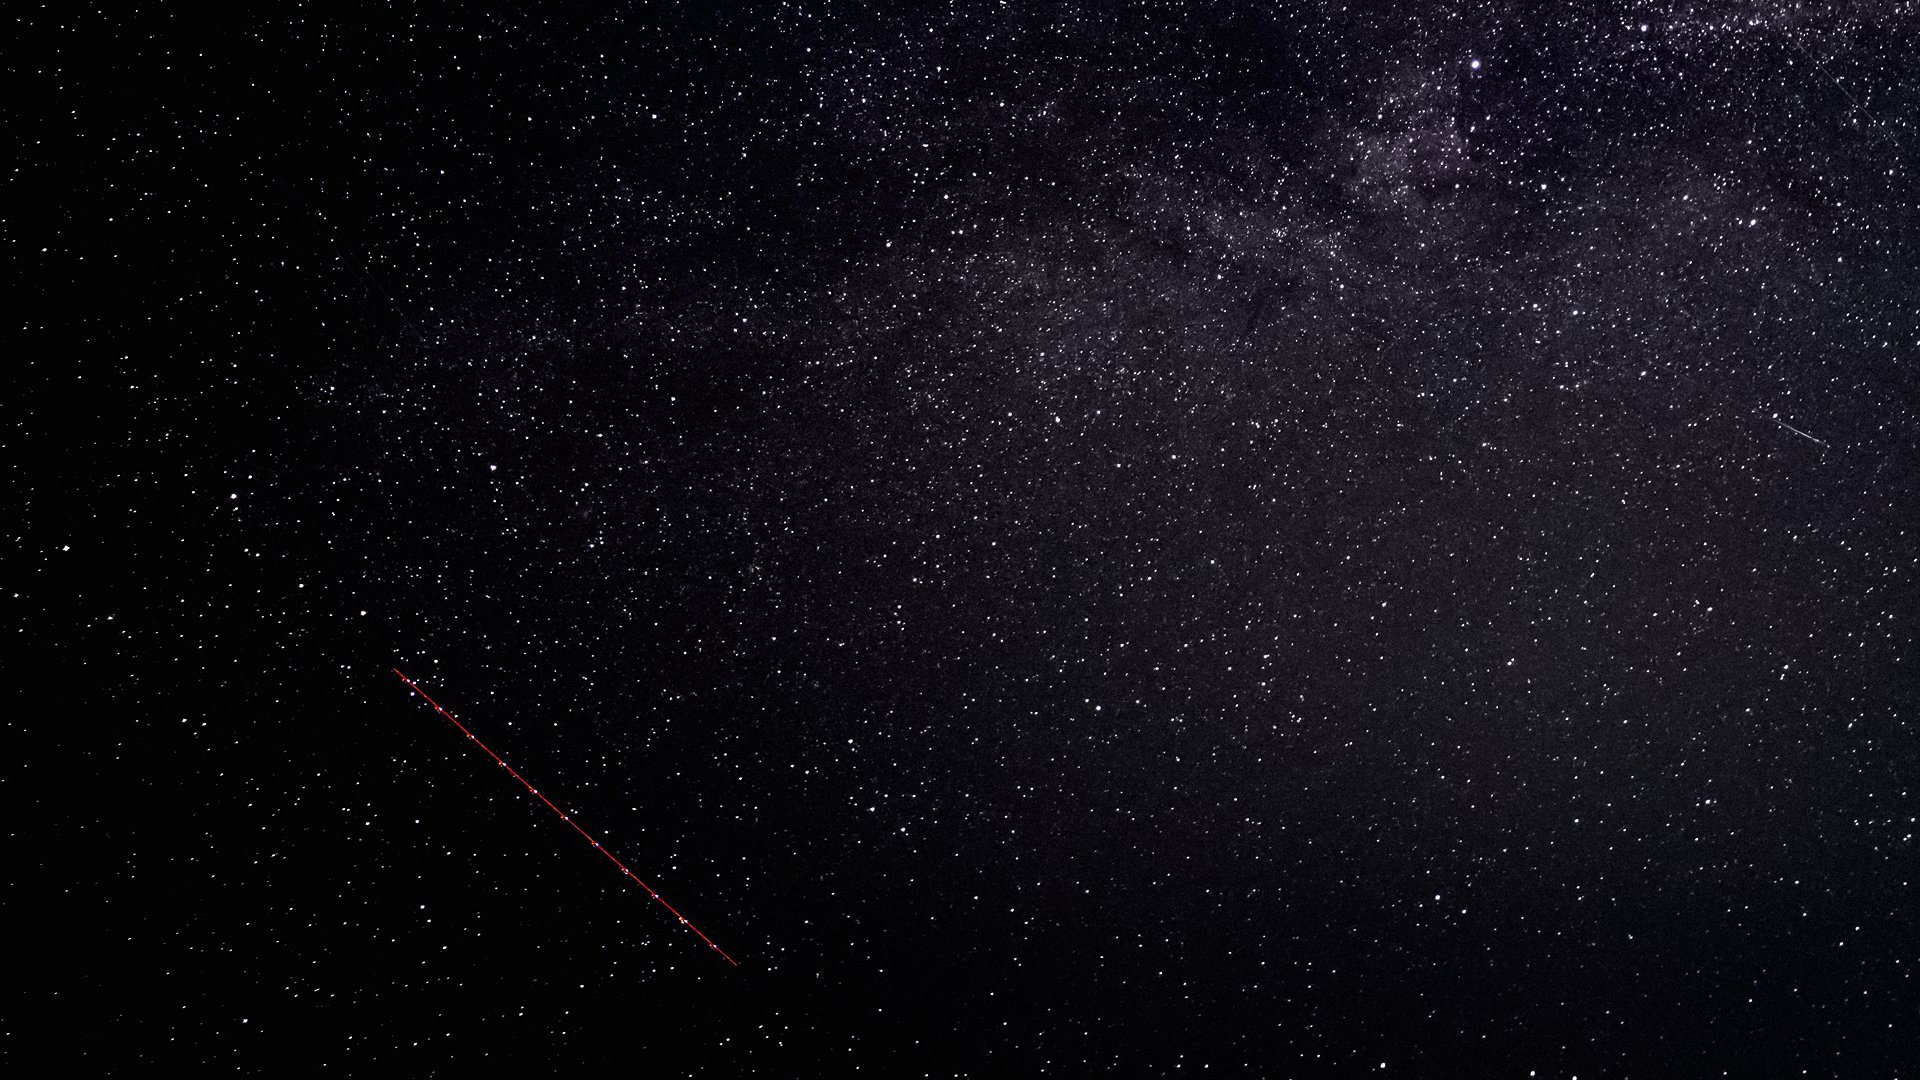
Here is a typical airplane trace. This one is just red (there are also yellow and white ones). It is often modulated, such as here, where you can see regular flashes of white lights on the trail.
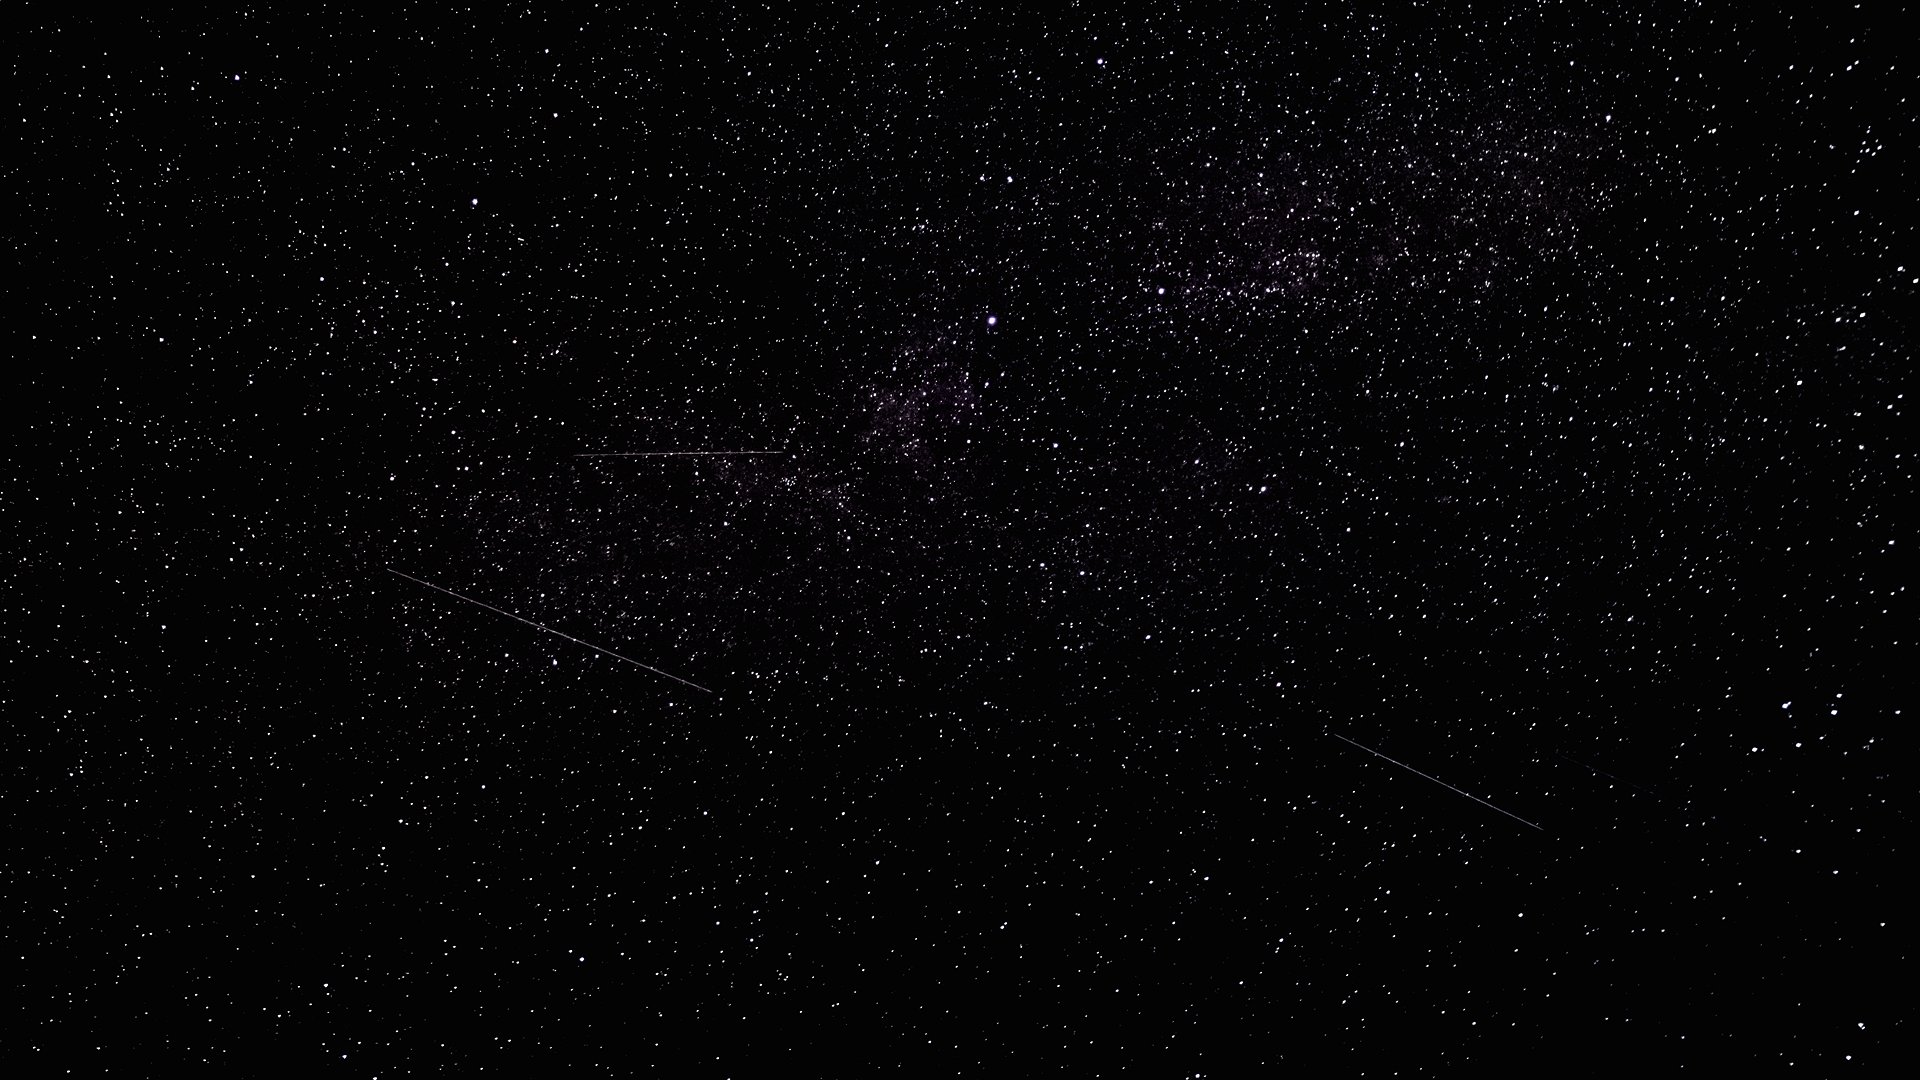
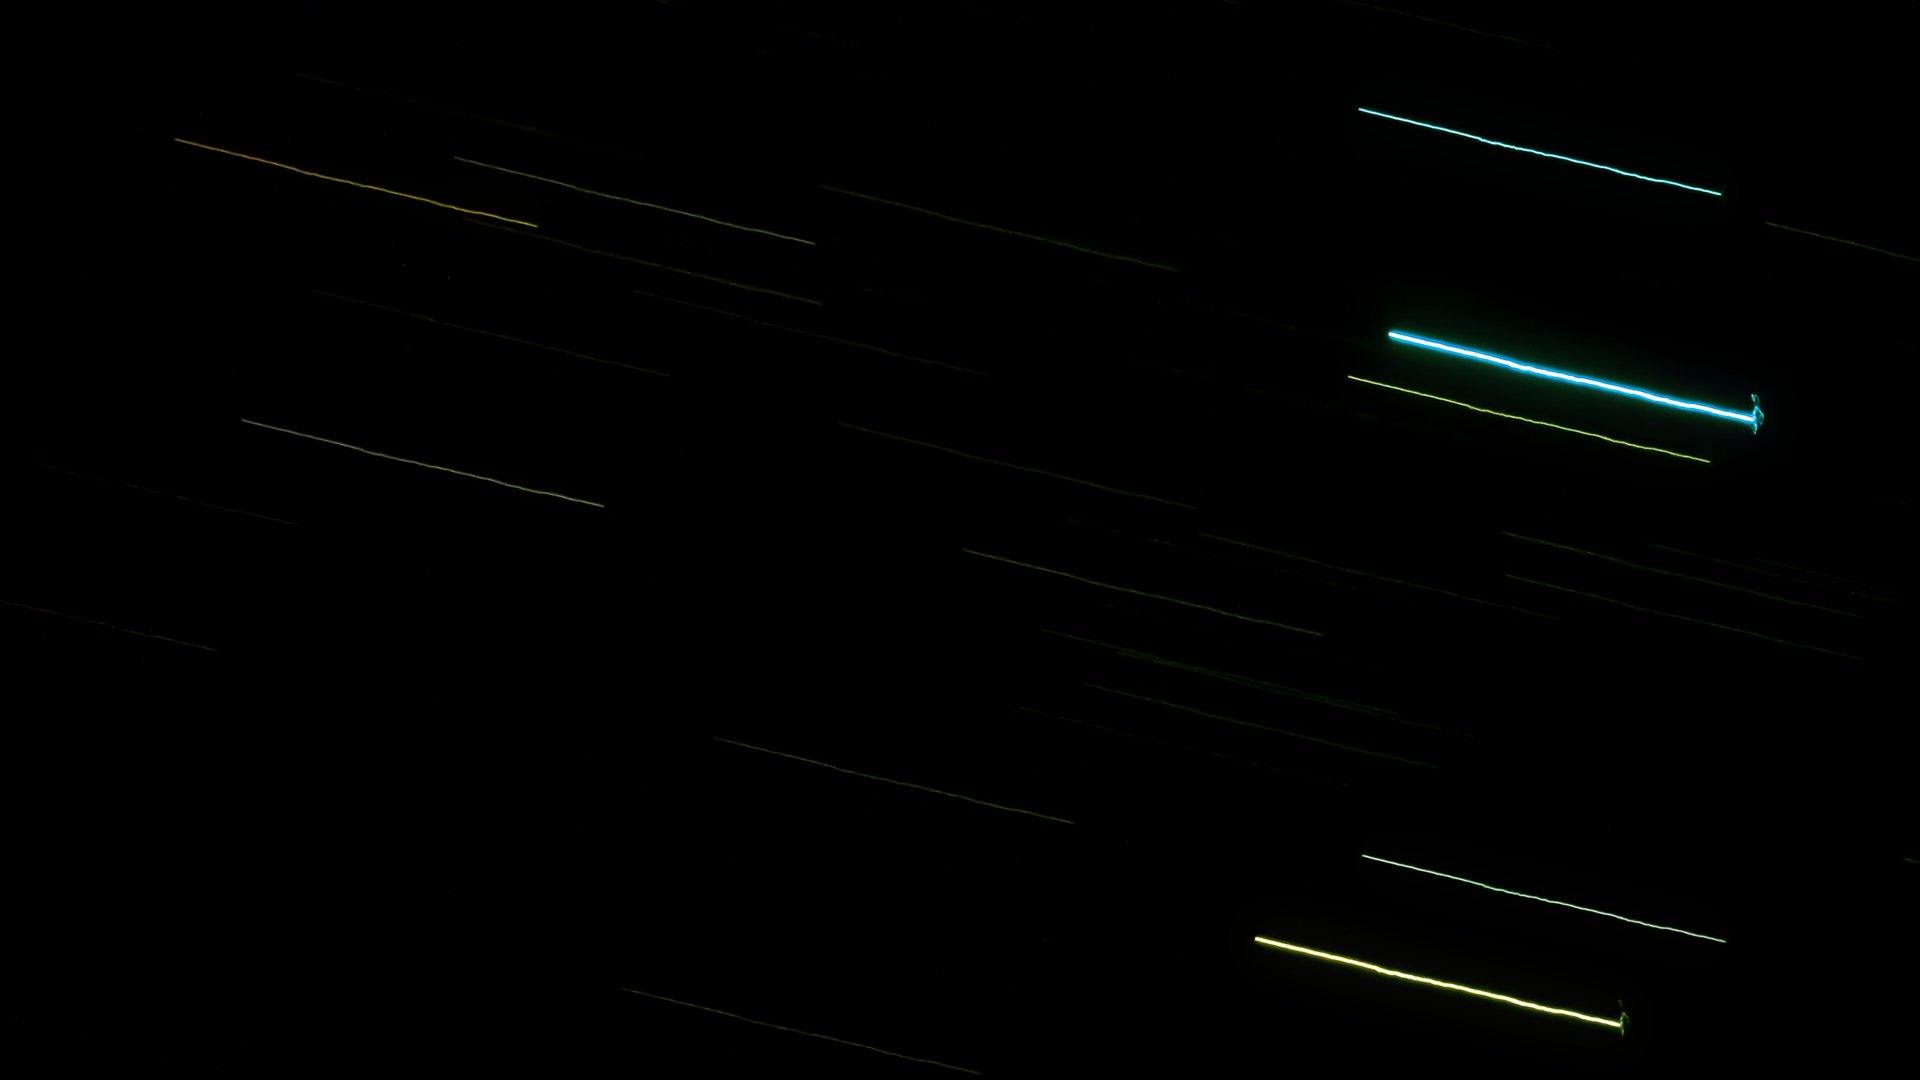
Traces of satellites. There are thousands of these objects, and if you need a fixed sky, they will bother you because they are constantly moving, changing the image. We recognize them by the fact that most often their trace is strong and does not change in brightness, appearing with the opening of the shutter and disappearing when closed. However, this is not a rule – some objects rotate or are located close to the ground and then they may seem to be a meteor, brightening for a moment or changing their brightness irregularly.
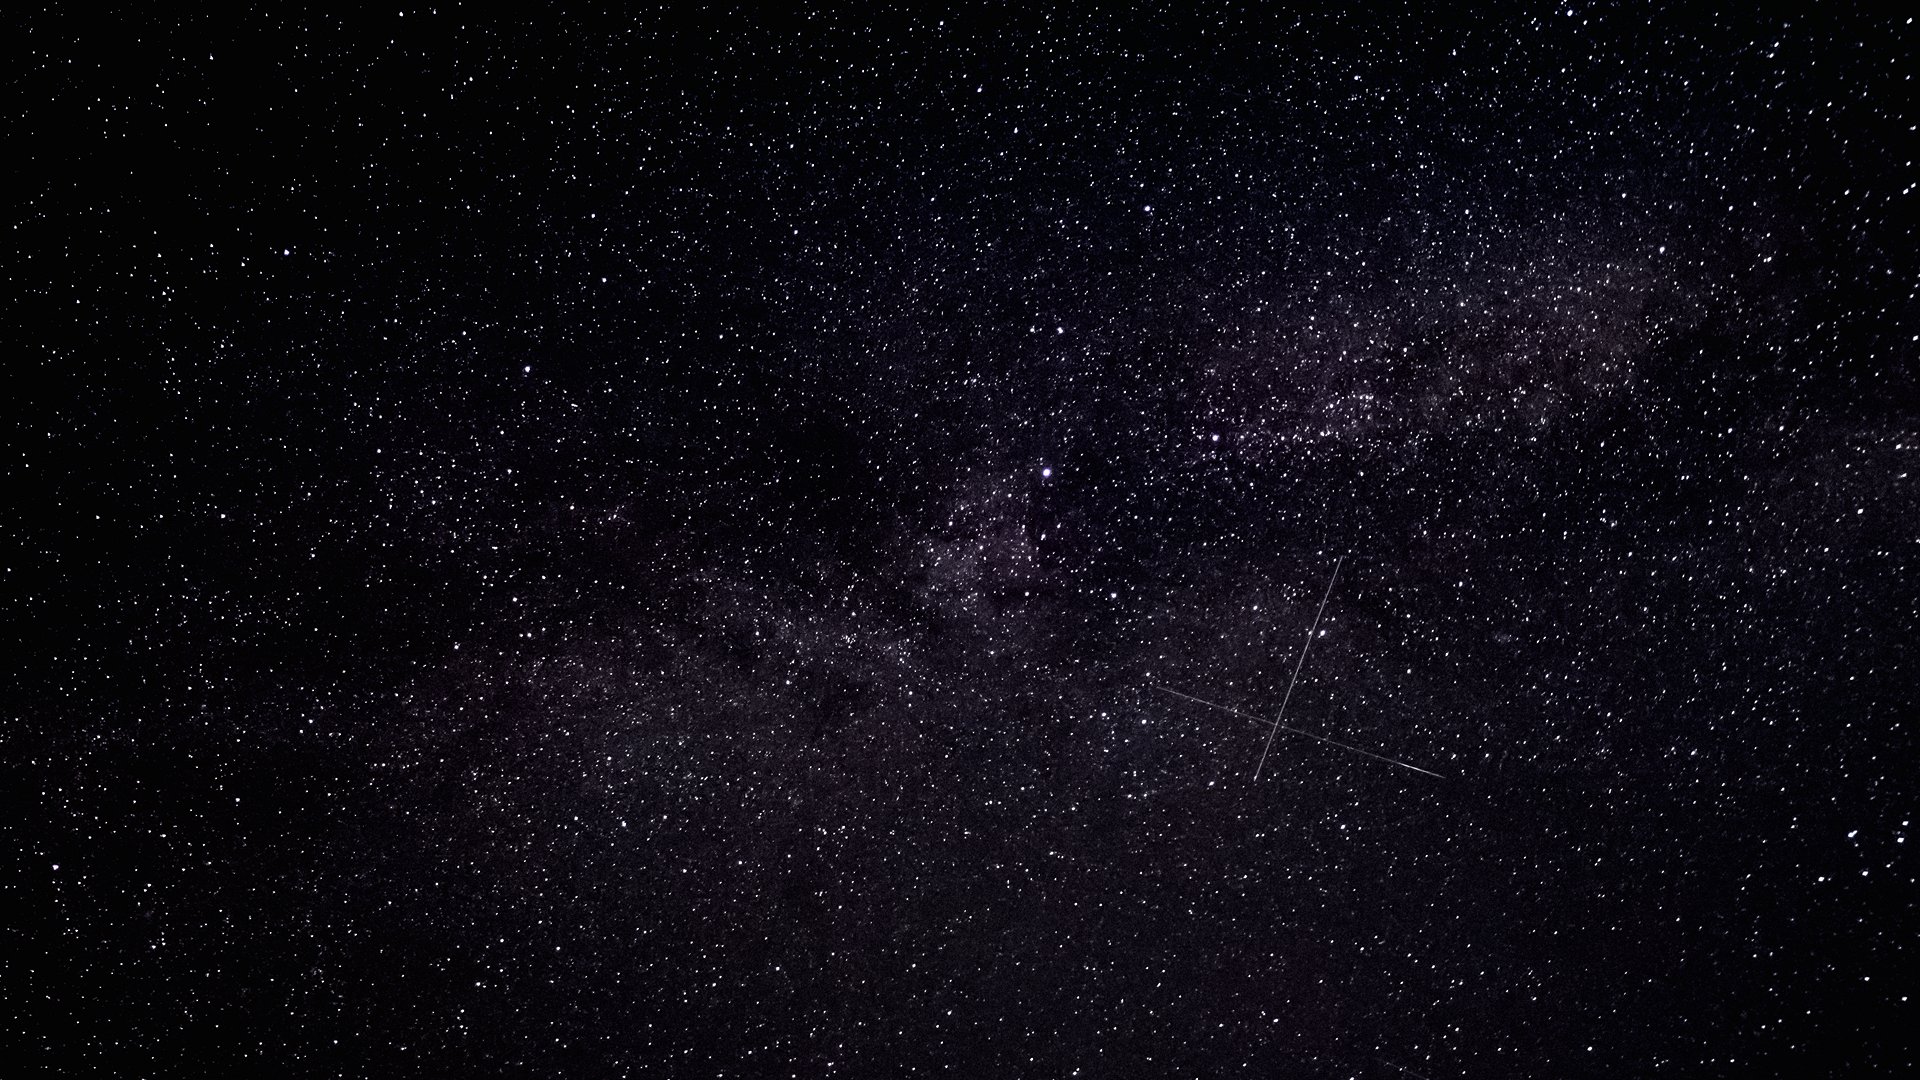
An interesting case of two objects crossing. In fact, they did not intersect at all but were on a single line in relation to the observer. Theoretically, the object flying horizontally could be a meteor because it brightened at the end of the flight irregularly.
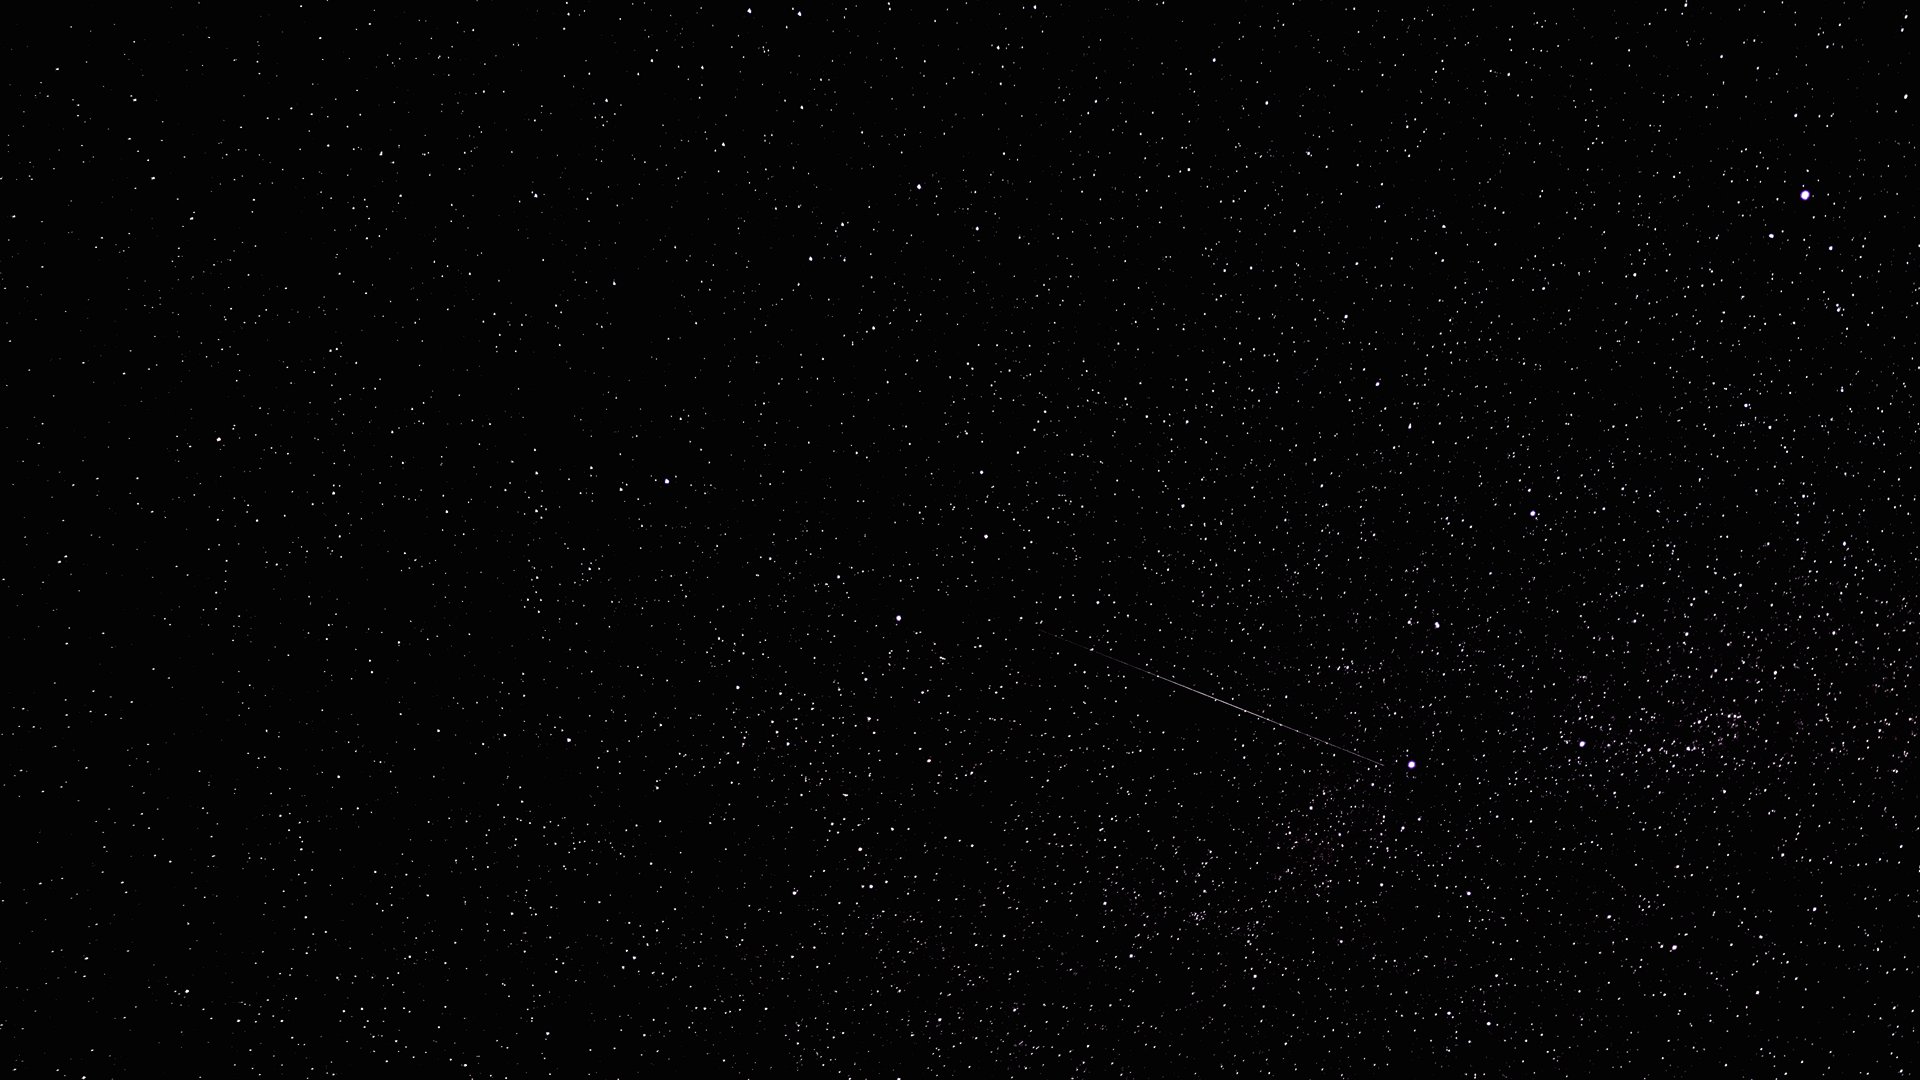
It could be a meteor, or it could be a satellite. The only method of verification would be to observe the phenomenon live – the meteors move much faster than satellites and can usually only be seen for a fraction of a second.
And here, a rare Perseids – confirmed with an eye-catching flare.

And one more. With such irregular flashes, we can assume that it’s a meteor.
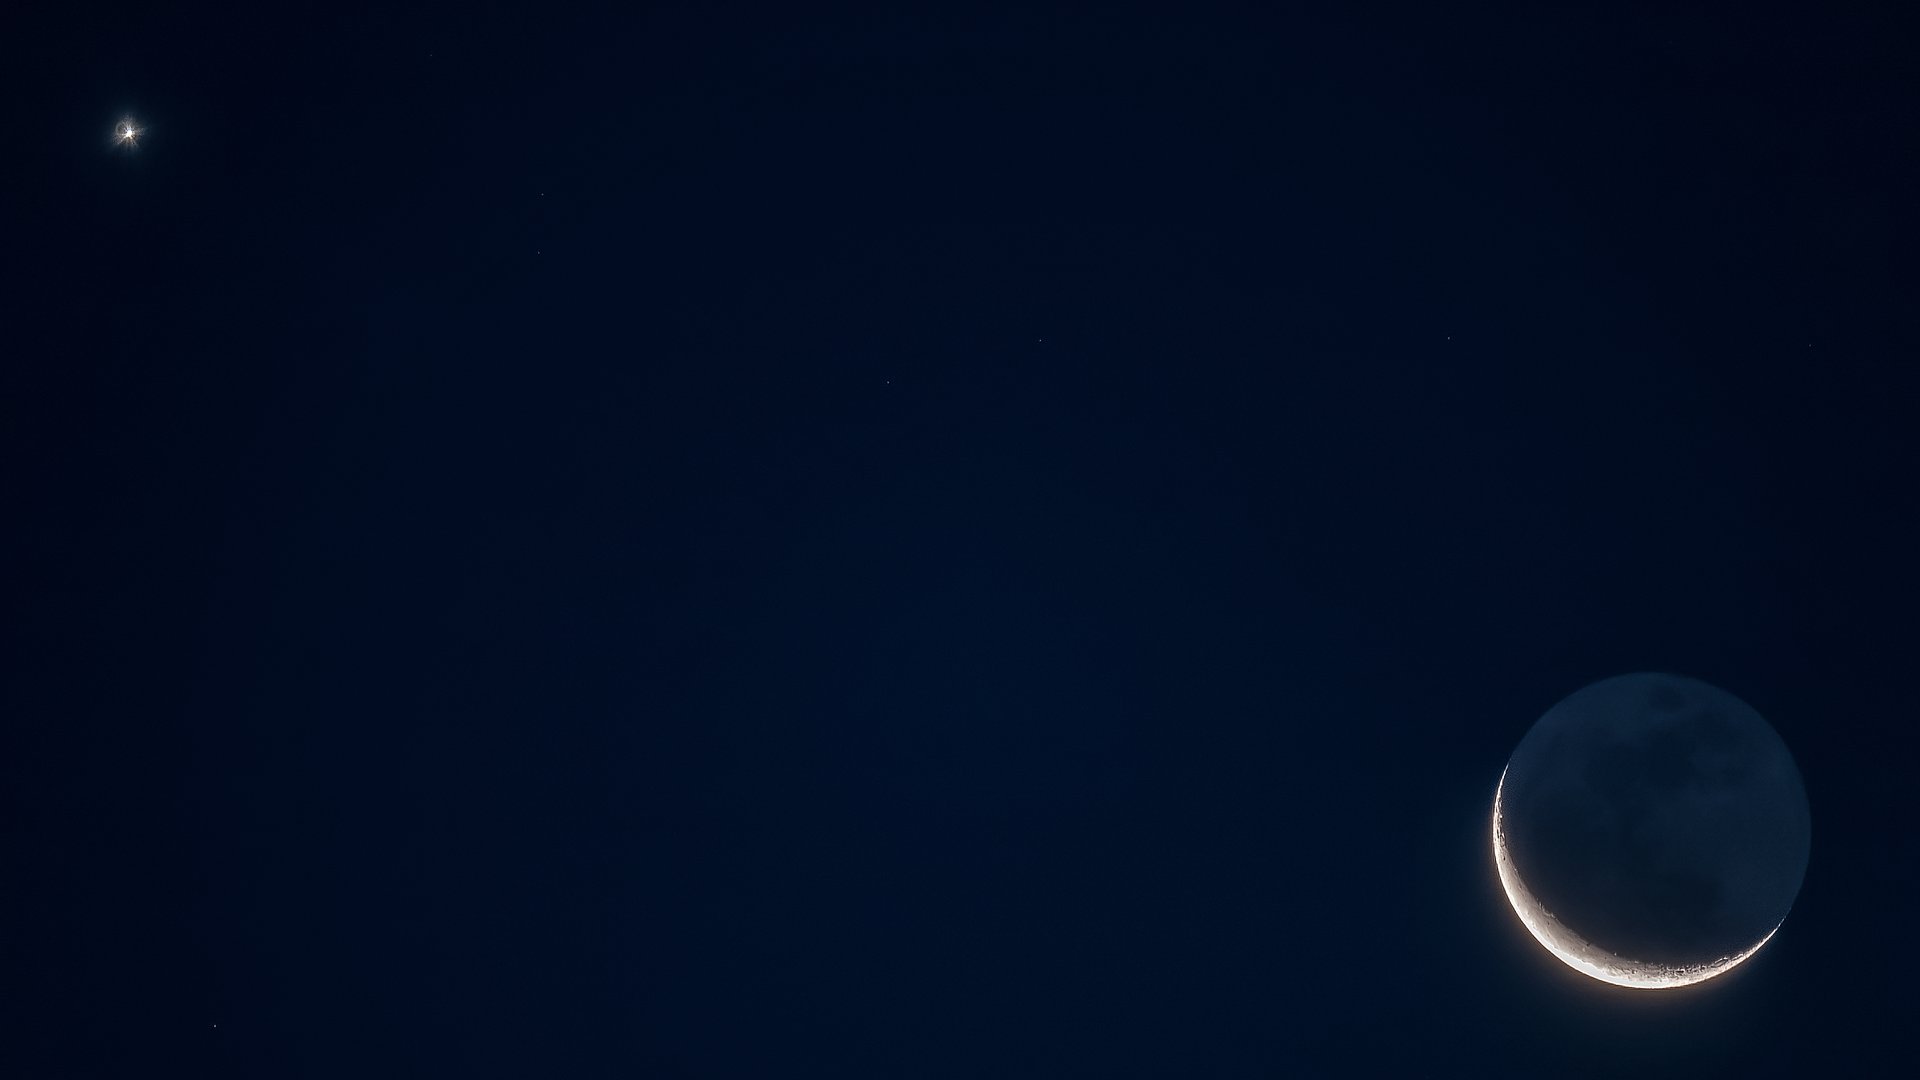
Usually after midnight we are overcome by drowsiness and our natural observations and reactions might be delayed. You can then turn on the intervalometer, leaving the camera alone for the rest of the night – maybe we’ll just capture an extremely interesting car? However, it often happens that in the second part of the night an interesting phenomena may appear. Here, for example, before sunrise, the Moon appeared illuminated mainly by light reflected from the earth. It was accompanied by an extremely close Venus – the planet shining most strongly in the sky (right after the Sun and Moon), usually in the evening and morning. This photo was taken with an inexpensive telephoto lens, and the exposure time, due to the high brightness of the objects, was 1/4 second – hence only a few brightest stars were found in the frame.
|
Source of Problems |
Description and Possible Solutions |
|
Weather |
Cloudless nights are rare in many places around the world. The solution is to analyze forecasts and select seasons with weather more favorable to nighttime observations. |
|
Temperature |
Cold nights (below a dozen or so degrees celsius) require appropriate clothing that will help you survive without moving for hours. Temperatures around zero degrees, combined with high humidity, create dew on the equipment that needs to be removed from the front lens. Unless water droplets are harmful to Irix lenses, they are easier to collect from the flat surface of a UV filter than directly from the lens. |
|
Wind |
Even small gusts can vibrate tripods – even the most expensive ones, especially when placed on soft ground. The solution is loading the tripods with additional weights and driving alternative long spikes into the ground or searching for a stable ground, preferably rock. Whenever possible, work with a fully assembled tripod. |
|
Snow |
Ground snow is not a problem only in conditions of perfect darkness (no light). Otherwise, especially with a slight haze, it will strongly reduce the contrast. |
|
Lighting from the sun |
Only the so-called astronomical night makes it possible to achieve a deep black sky. Regions where the sun does not go below 18 degrees below the horizon, will not receive high enough contrast (especially at certain times of the year). |
|
Lighting from the moon |
Moonlight is very strong compared to starlight. In ideal weather conditions, its presence will disrupt your shot if your lens does not provide good enough light transmission. However, even a slight haze will make the sky background glow, limiting exposure and contrast. In practice, we can observe the sky for several days in the vicinity of the new moon and in the morning – for the week of the first quarter and in the evening, and during the week of the third quarter. |
|
Artificial lighting |
Excluding observation areas of cities, their surroundings, and places with a high density of human activity is one of the biggest problems. In practice, good observation conditions can be achieved only tens of kilometers from larger centers and a few kilometers from individual lights. In the mountains you can find places where these distances will be shorter. |
|
Darkness |
All manipulations with photographic equipment require light. It can blind us, giving an afterimage effect that lasts for some time, limiting the ability to see stars. Irix is equipped with infinity click, which gives an audible sound of focusing at infinity, thanks to which we can control it in the dark. By locking the focusing ring, we can be sure that we will not accidentally move it when manipulating the camera. In addition, Blackstone lenses are covered with paint that glows when illuminated with ultraviolet light, which does not give an afterimage effect. |
|
Energy |
Long exposure of a series of photos requires a lot of energy. Even if we have several batteries, replacing means taking a break, which is important when performing timelapses. The risk of moving the camera then increases, which can be troublesome when converting the photos into a video. It should be noted that at low temperatures, battery performance decreases. However, there are also some energy savings: in astrophotos neither autofocus nor stabilization is used. While the use of lenses with autofocus is possible after turning it off, it is much more convenient to work with manual lenses in which the focusing ring usually works more efficiently. |
|
Optics |
For astrophotography, high quality is important, in terms of elements such as chromatic aberration (colored envelopes around stars), spherical (blurring in the corners) and coma (stretching the image of stars outside the center in ovals or “mushrooms”), and in the presence of the moon also transmission (contrast decrease and background brightness). The choice of lenses of a quality like Irix will limit the above problems to a minimum. |
|
Earth’s rotation |
The spinning of the Earth can be felt for exposures longer than 15 seconds (for wide-angle lenses), while in the case of telephoto lenses, almost immediately. A professional solution is to use accessories like star trackers. The camera is then guided by the movement of the stars and photos can be exposed for an unlimited time. A much cheaper solution is taking a series of photos and putting them together. Noise will be averaged in them, and the lights of even weak objects will be added up. Pictures with deliberately recorded movement of stars (startrails), using long exposure (at least 15 minutes), are a separate means of expression. Those types of photos are often very interesting, especially if there is part of the horizon in the frame. This effect can also be obtained by adding up photos taken separately, without taking into account the motion of the ellipse. Usually, however, you will see the modulation of the archs in dark areas where the camera shutter did not work (“bead effect”). |
|
Fatigue |
During nighttime, open-air sleep comes quickly, especially if we are awake, wrapped in a warm sleeping bag. It is good to go to such sessions rested. Before you fall asleep, it is worth using an intervalometer, which takes a series of photos for us until the card is full or the battery is depleted. Even if you do not plan to use the photos, there is a chance to find exposed meteors among them. |
Text and photos: Adam Śmiałek
Photos were taken with the Irix 11mm f/4.0 and the Irix 15mm f/2.4 lenses.